How To Do Winged Eyeliner Like A Makeup Pro
Daunting as it seems, winged eyeliner is a technique any makeup-lover should have at their disposal. When done correctly, winged liner can accentuate your natural eye shape or completely transform your look. It can also be the finishing touch you need to make your makeup seem professionally done, even when you did it yourself with drugstore products. There are cheat hacks available for those who don't dare attempt a wing, including stamps, stencils, and even winged eyeliner stickers (via Makeup.com). But the good news is that winged eyeliner by hand isn't as difficult to achieve as it looks, and you don't need a certificate in makeup to master the technique. What you do need is the patience and willingness to practice, as very few people can nail it on the first try, simple though it may be.
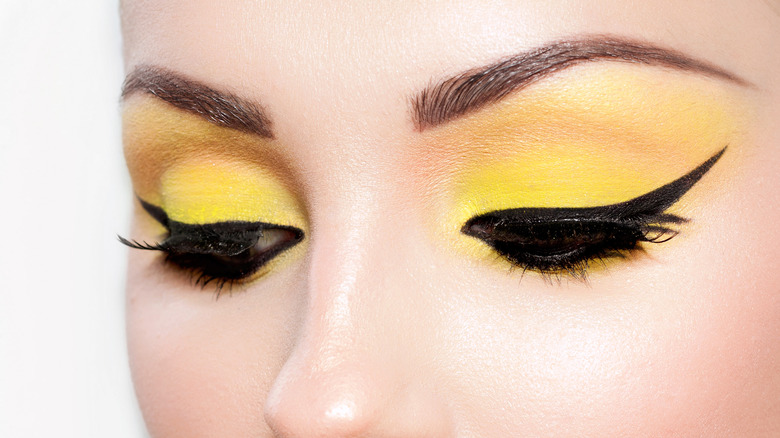
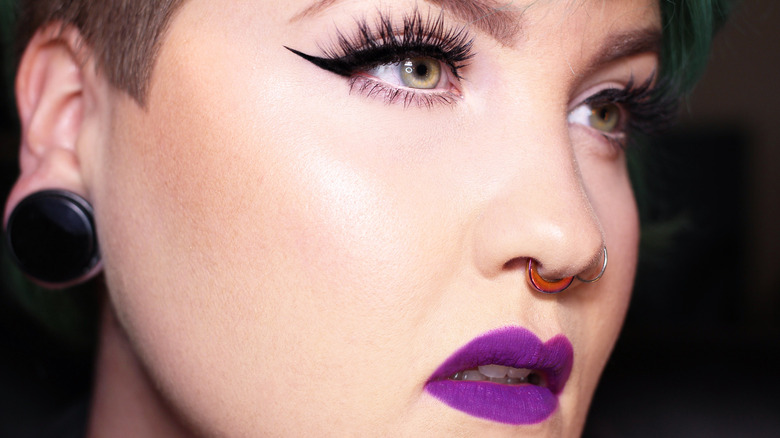
Winged eyeliner is a blanket term for several slightly different styles of dramatic liner, from batwing to smoky to classic. Knowing your eye shape will help you identify which specific kind of winged eyeliner is the best for you (via Eyeko). For example, round eyes can benefit from styles that add width, while more dramatic styles tend to suit monolid eyes the most. That said, a classic wing flatters every shape, so that's the best place to start.
Creating a classic wing
You can achieve a winged look with either liquid or gel eyeliner. While pencil liner can enhance a wing, particularly if you want a smoky look, liquid and gel have a better consistency for a fierce, defined line. As Body Care Vault explains, liquid liners can be used with a felt-tip or brush-tip applicator, while gel liners are usually only applied with a brush. If you're new to winged liner or a bit nervous, liquid liner tends to be easier to handle.
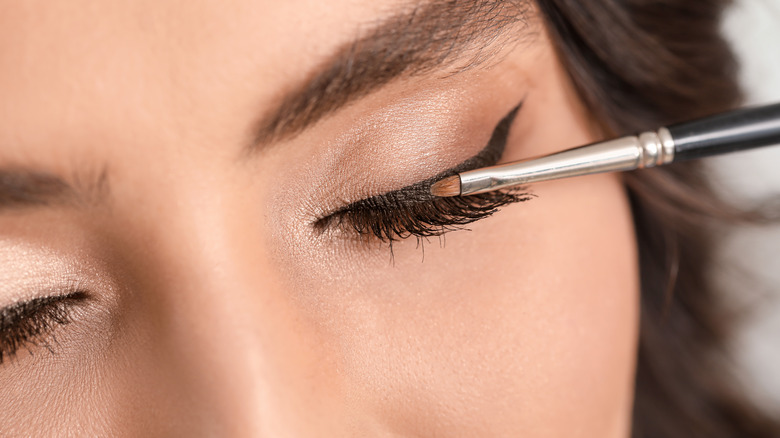
Always begin by prepping your eye with eyeshadow primer on the lid and under the eye (via MasterClass). If you're going to apply eyeshadow, do that before your liner. Starting at the outer corner of your eye, follow the curve of your lash line by drawing a short line with your eyeliner (via Oz Hair and Beauty). Then draw a thin line along your upper lash line from the tear duct, keeping as close as possible to the lashes. It can help to look down into a mirror rather than looking up. Finish the line on the upper lash where it meets the end of the line you drew on the lower lash. Carefully fill the gaps between the lines with your liquid liner.
If you have made any mistakes (it happens!), use a Q-tip with micellar water to clean up imperfections (via Model Rock Lashes). Now go ahead and complete the look with a coat or two of mascara. While most people get the hang of this technique after a few tries, there's another way of doing winged liner that some find even easier.
The adhesive tape method
If you have shaky hands, or just can't for the life of you execute a straight line from your bottom lash, try the adhesive tape method. Maybelline recommends sticking a piece of tape to your hands a few times to weaken the sticking power and then sticking it on an angle from the outer corner of your eye towards your temples. This will create a stencil. Next, line your upper lash with liquid liner, as described above, then draw a wing from your bottom lash using the tape as a guide. Connect the wing to your top lash line with short strokes and then allow the liner to dry before blinking.
No matter which method you use to achieve winged liner like a pro, practicing multiple times is key. Esmi recommends drawing your wing while sitting down and resting your elbows on a flat surface to combat shaky hands. You can also draw an outline of the wing with pencil, which is often less daunting, and then go over it with liquid liner later. Eventually, you'll be able to play around with more complex winged eye looks. Graphic winged liner, negative space winged liner, and reverse cat eye winged liner are all cutting-edge trends that can elevate your style (via L'Oréal). But for now, a classic wing is all you need to enhance your look.


