Our Best Tips For Applying Lift Tape To Your Face
We may receive a commission on purchases made from links.
Since the dawn of time, it seems, humanity has chased the image of youth. The ancient Egyptians relied on almond and castor oils to fend off wrinkles, while those in Medieval Europe used a slightly more chaotic process, irritating their skin with the stinking iris plant and then soothing it with a lily-root ointment to obtain a smooth, youthful appearance. These days, the go-to methods for ironing out and preventing wrinkles mostly involve daily SPF, a solid skincare routine with active ingredients, and cosmetic injectables like Botox. However, for those looking for an alternative, an increasingly popular solution is face taping, or lift taping.
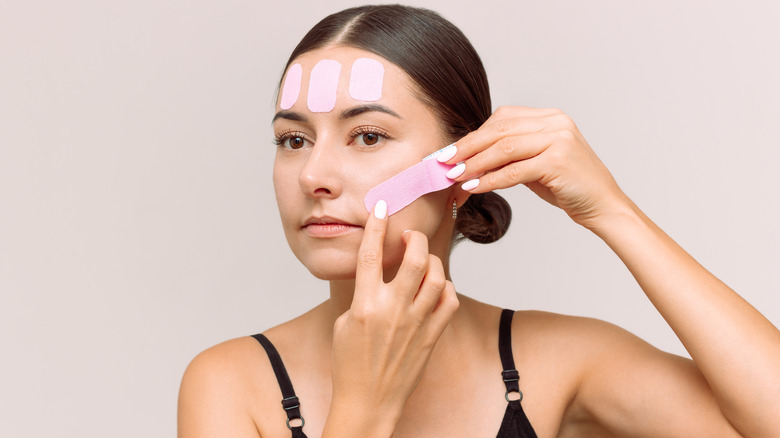
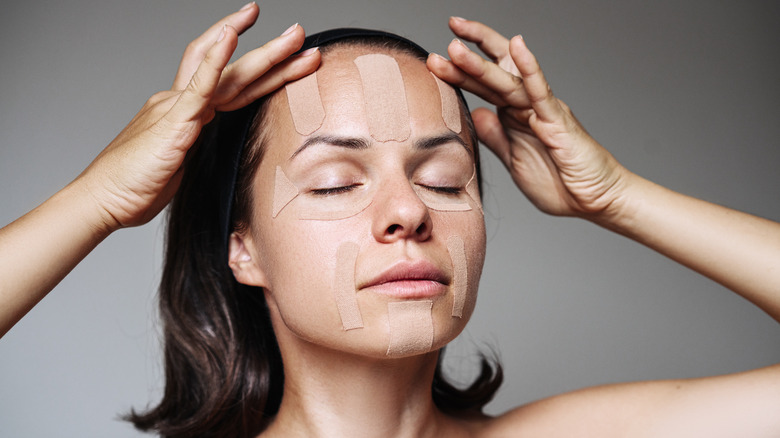
This social-media-approved practice is pretty much what it sounds like: With the use of tape that sticks to your skin, you can manually "pull back" your skin to flatten wrinkles and fine lines. There are various kinds of face tape available, and they can also be used on the jaw, neck, and other areas where you want to smooth out creases. This includes those that are designed to be worn overnight to "train" the skin not to wrinkle, as well as those that pull back existing wrinkles for a temporary snatched appearance, which are usually clear.
Unfortunately, face taping may not actually do anything for your wrinkles in the long term, as board-certified medical and cosmetic dermatologist Ivy DeRosa, M.D., shared with Byrdie, "The most effective way to keep your skin healthy and aging gracefully is a daily broad spectrum sunscreen of SPF 30+ in the AM and a retinoid nightly." However, DeRosa confirmed that applying tape for an immediate effect certainly works, kind of like air-brushing for real life. While it's quite an easy process, there are a few things to keep in mind to get the most out of your tape, from using medical-grade brands to adequately preparing your skin before use.
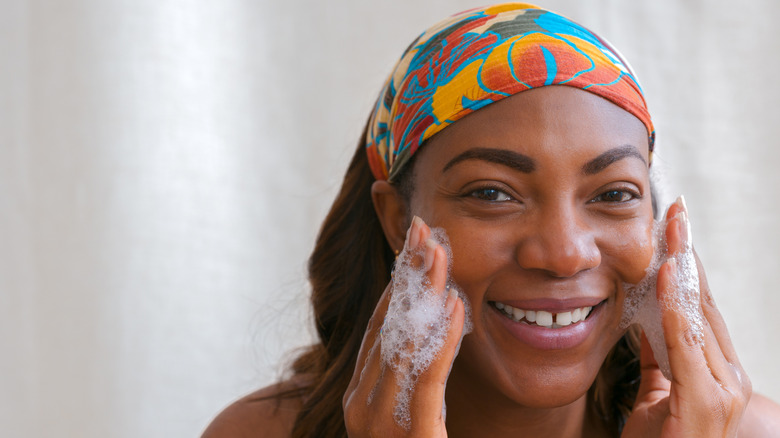
Remove oils from your face before applying your lift tape
Face tape comes in a few forms: You can have patches that stick to your skin, like regular medical tape, and then you can have those that stick to your skin but are also connected to elastic that pulls them back for an even tighter look. Regardless, it's vital that the adhesive on the tape is able to do its job. This requires you to remove from your skin oils and other residue that could compromise the tape's stickiness. Cleansing your face as normal may be enough, but if you find that the adhesive isn't 100% effective, you can take things a step further with products like witch hazel, such as the Amazon Basics Witch Hazel USP Astringent. "For the best grip, use a toner or witch hazel to remove any oils that could interfere with the adhesive," celebrity makeup artist Dani Kimiko Vincent told InStyle.
If you're wearing your face tape for an immediate snatched look, you'll likely pair it with makeup. Cleanse your face as normal, and tone if required. Then, apply the tape before moving forward with other products, including moisturizer, primer, or anything else that may make the surface of your skin too slippery for the adhesive. It's particularly important to wait until after you've applied the tape to do your eye makeup, as the shape of your eyes may well change after the tape pulls your skin. The same logic applies to contour, highlighter, and blush, as you can't place these products strategically if your face is going to change. You might be all over viral TikTok contour hacks that make placement easy, even for beginners, but please use them after your tape.
Use medical-grade (or at least non-irritating) tape
Like every other beauty product out there, we're spoiled for choice when it comes to face tape. Besides the legit face tape brands on the market, TikTokers have also made waves for making their own tape using household items like the Band-Aid Brand Water Block Flex Adhesive Bandages and Gorilla Crystal Clear Repair Duct Tape. Products like these may be able to pull your skin, but experts recommend using specifically designed face tape (at a medical grade, if possible), such as the 3M™ Transpore™ Surgical Tape, to avoid skin irritation.
Ideally, specifically designed face tape won't damage your skin unless you're allergic to it, but it can still lead to mild irritation, especially if you have sensitive skin or you're using face tape repeatedly. As celebrity esthetician and dermatological nurse Natalie Aguilar explained to InStyle, "For one, these facial tapes are designed to pull and lift skin — it takes a lot of forceful glue to stick, hold, and pull. With prolonged use, skin can become darker, drier, flaky, and commonly itchy where the face tape was placed."
Going for a medical-grade option will reduce the chances of this irritation, as will paying attention to the way your skin responds to the tape. "If someone is going to use face tape, I recommend not leaving the tape on for more than three hours or removing it as soon as it begins to tingle, itch, or become uncomfortable," Aguilar added.
Don't over-stretch the tape or rip it off
Wearing face tape shouldn't be painful, but there are a few things you can do to make it more comfortable. One of the main points to remember is to avoid stretching the tape too much before you apply it to your skin — as in, don't force a smaller amount of tape to cover an area of skin that's too large, or you'll likely experience excessive pulling. It's also important to remember not to be forceful when it comes to removing the tape.
The logic of "rip it off like a Band-Aid" definitely doesn't apply here! To take the tape off with minimal discomfort, move very slowly and gently, applying a product that will help loosen the adhesive. Oil or micellar water, like Garnier's SkinActive Micellar Cleansing Water, will usually help break through the sticky part without tugging it off your skin, and you can apply this with Amazon Basics Hypoallergenic 100% Cotton Rounds or Amazon Basics Cotton Swabs.
The other thing to consider is that taping can be painful if your hair gets caught in the adhesive; no one wants to have their strands yanked from the follicle. Comb back your hair before sticking the tape to avoid this as much as possible, but if any hairs do find their way to the sticky area, use the point of something like the Rabetly Rat Tail Comb to gently push them back so you can manually remove them, rather than taking your chances and ripping them out.
Part your hair to cover the elastic
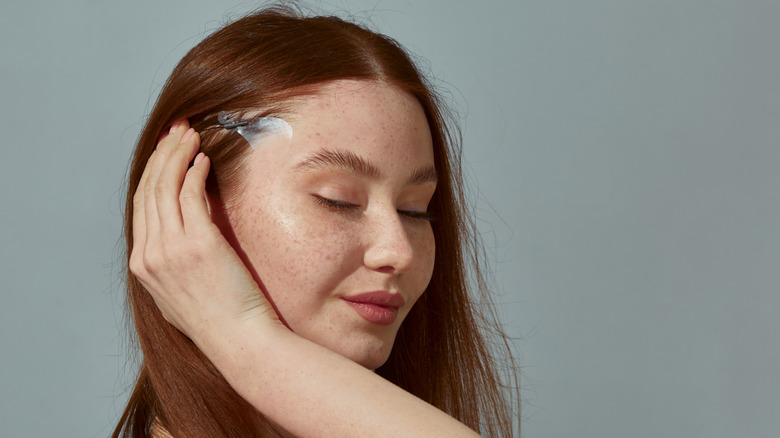
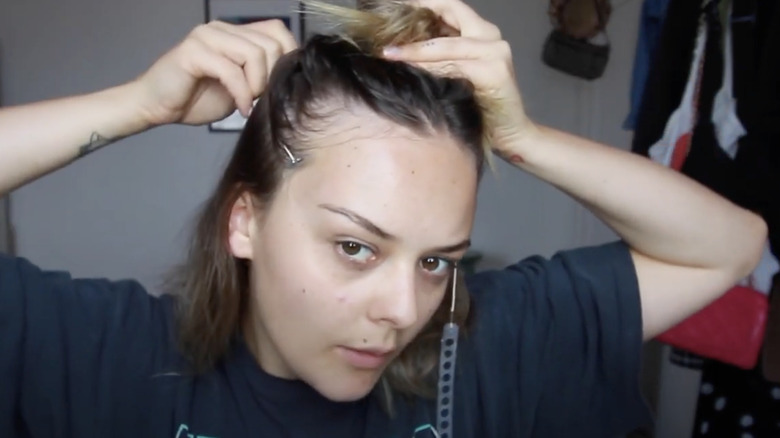
Speaking of hair, your locks can be very useful in covering the evidence of your tape — at least if you're wearing the kind that pulls the skin with elastic. The two pieces of elastic join and fasten at the back of your head, so unless you're wearing a wig, you'll need to wear your hair in a way that covers them. The best thing to do is part your hair into two sections before applying the tape, the way you would do a half-up, half-down top knot (aka the chic updo every girl with short hair needs to master). Then, stick the tape, and tie the strings together around the horizontal parting line of your hair. Once the elastic and the tape are secure, let the rest of your hair down to conceal those strings.
Naturally, you'll want to position the tape close to the edge of your face so the elastic only crosses your hair rather than crossing your skin. There are two extra steps you can take if you're worried about your hair moving and revealing the elastic. Firstly, opt for elastic that's a similar color to your hair so that it's less obvious if your hair moves. Then, ensure that your hair is squeaky clean; greasy hair tends to stick together in clumps, so it's more likely you'll end up with gaps that reveal your elastic. FYI, dry shampoo is one of the best best and quickest tricks for dealing with oily hair.
'Map out' your angles first
Figuring out exactly where to place your tape for the best results can take some practice. Of course, it's vital to apply your tape in exactly the same position on both sides of your face to obtain a flattering symmetry, but as to where that positioning is comes down to your personal preferences and any insecurities you're dealing with. There are plenty of tutorials out there to help you navigate specific concerns with face tape, but even if you know exactly where you want to put it, celebrity makeup artist Naïma Bremer advises in a YouTube video that it's best to map it out first before sticking down the tape. You can simply experiment with pulling your skin in different directions and at different angles in the mirror before application.
The other thing to remember is that it's important to pull the skin and hold it taut before sticking the adhesive. As mentioned, you don't want to pull the tape so it covers more area than it should, but you also don't want to haphazardly stick the tape on loose skin, as you can end up actually creating wrinkles and fine lines that way. Once you've prepped the skin, planned your angles, and parted your hair if necessary, the only thing left to do is apply the tape carefully to achieve the perfect snatched look.
