False Eyelash Mistakes You May Be Making
False lashes are one of the best inventions of the cosmetics world and they can instantly take your makeup look to the next level. Whether you use individual lashes to enhance your natural ones or wear a dramatic pair for a full-on glam face, there's no denying that falsies have a way of making your eyes pop. While there are so many upsides to wearing false lashes, we can all collectively admit that the application part is pretty tricky, and can be frustrating for even the most seasoned makeup lovers. As a makeup artist with over 15 years in the industry, I've applied countless false lashes and have learned to avoid certain mistakes with them, either on clients or myself.
Applying faux lashes on yourself can be intimidating, especially if you're a novice. I actually find it easier to place them on others rather than my own peepers. Unfortunately, the majority of us don't have a makeup artist on hand every time we want falsies. Don't feel discouraged though — with some practice and helpful tips, you'll soon be a pro.
You're using the wrong style of lashes
Perusing the lash section of a makeup store can make you feel overwhelmed, especially if you don't know what you're looking for. There are so many different types and styles, from wispy-looking ones to super thick sets. When it comes to false lashes, there's no one size fits all, so before you just randomly choose one, consider what effect you're aiming for. Many of us naturally want lush lashes, but that doesn't mean that the thickest set of falsies will be flattering on you. If you want a natural look, purchase a set that looks closest to your own after you've curled your lashes and applied mascara. For more drama, get ones that are fluffier and longer. Unless you're going for a specific look, I suggest staying away from the spiky versions, as they tend to look unnatural and costumey.
You'll also want to pick the perfect falsies for your eye shape. Those with hooded eyes will want a light set such as the Ardell 110, which is a fave amongst my clients who want a very natural look. If you have a lot of lid space, you can rock a pair of longer ones. The Ardell 120 is a gorgeous wispy style with an invisible band that gives you the option of an eyeliner-free look.
You're not measuring the lashes to fit your eyes
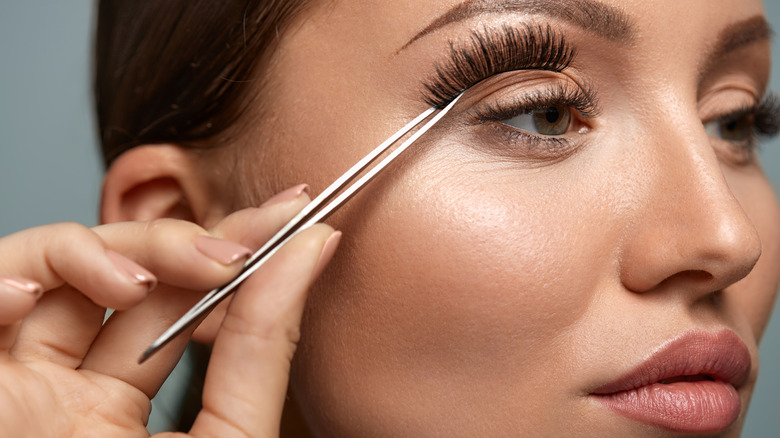
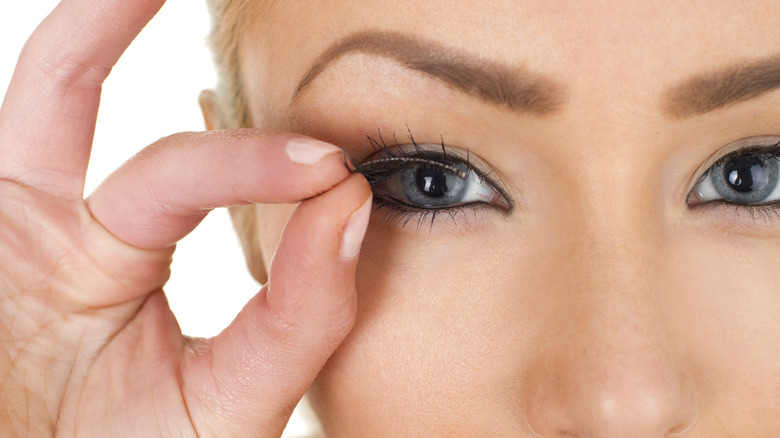
Once you have your false lashes picked out, you'll want to make sure the band isn't too long or it'll go past the outer corners of your eyes. Remove the falsies from the container gently so that they retain their curved shape. I like to carefully peel them from the outer ends. They should be a bit sticky from the adhesive so it'll be easy to temporarily fit them onto your lids. Be sure not to place them too close to the inner eyes and measure how much they extend past your eyes, if at all.
If you do need to cut the lashes, always trim them from the outer ends. The inner parts are usually shorter and thinner so that they gradually thicken and lengthen. When you cut from the front, the lashes will be too uniform and won't give you that eye-opening effect. A pro tip — closely check the inner part of the false lashes for a tiny bit of hanging band, which will irritate and poke your eyes if present.
Your glue game needs work
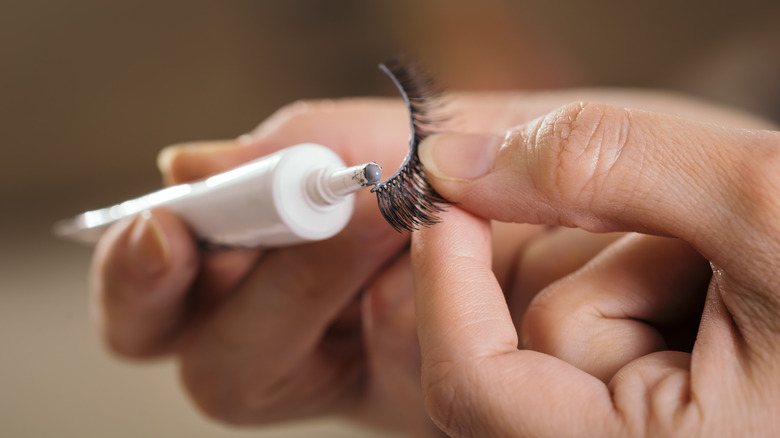
False lashes usually come with a small tube of glue but unless it's a dire emergency, do not use it. These types of glue are usually generic and won't hold up over time. An old standby for makeup artists is the Duo brand, which is super affordable and can be bought at any drugstore. House of Lashes is another favorite and has a very strong hold, so it's great for long wear.
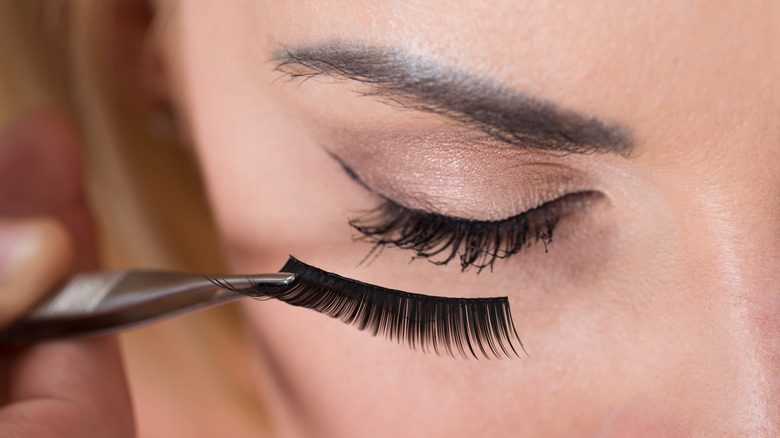
When applying the glue to your faux lashes, use the end of a pair of tweezers or a broken cotton swab to place a thin layer onto the strip. Don't think that more glue will make your lashes stay on better. It'll just result in a gloppy mess on your lids. After the glue is on, wave the lash around for about 10-15 seconds to let the adhesive dry a bit. You'll want it to feel a little tacky so that it doesn't move too much once you've placed the lashes onto your eyes.
Applying false lashes is your last step
Many apply false eyelashes at the very end of their makeup routine, but this shouldn't be the last step. If you're a first-time user, you don't know how your eyes will react and you may tear up. You might also get glue everywhere and have to take a few tries to get the lashes on correctly, resulting in ruined eye makeup. After you've gotten your face prepped with makeup, including blush and filling in brows, it's time to focus on the eyes. You can apply shadow, but before you move on to eyeliner, this is when I suggest putting on your lashes.
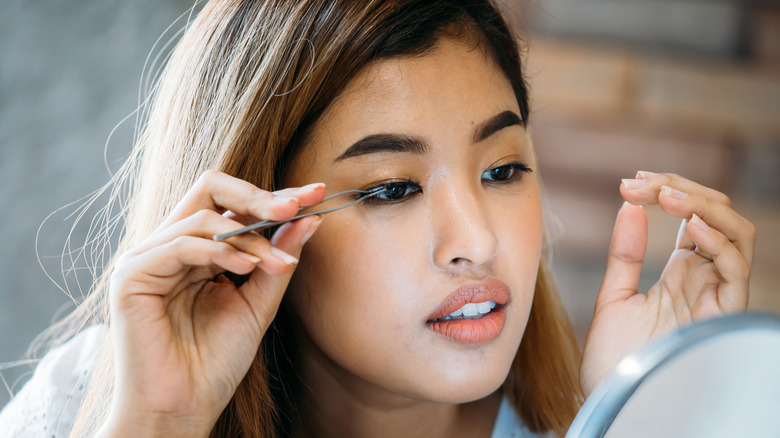
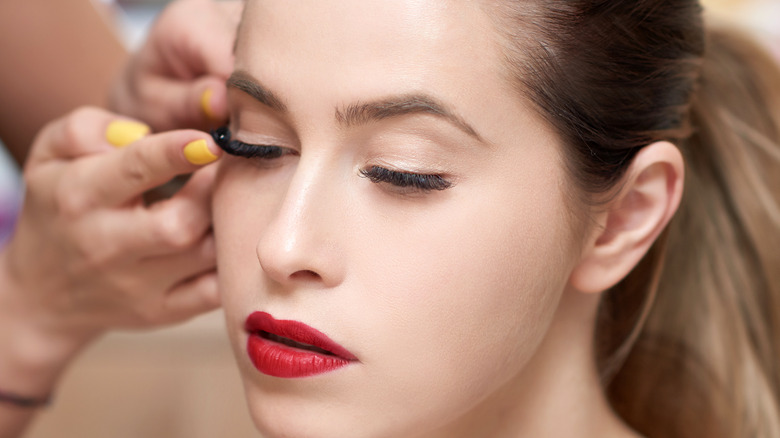
Applying fake lashes over your liner can mess up your hard work, especially if you took the time to do an elaborate cat eye. Smudged eyeshadow is easy to fix but redoing a winged liner takes a lot more effort. Once you've mastered putting on false lashes with a steady hand, you can choose to apply them at the end, but doing so before eyeliner is the sweet spot during the makeup process. An easy hack for applying false lashes like an expert is to hold a mirror by your chin and look down, which will result in the perfect placement.
You're not blending the false lashes with your natural ones
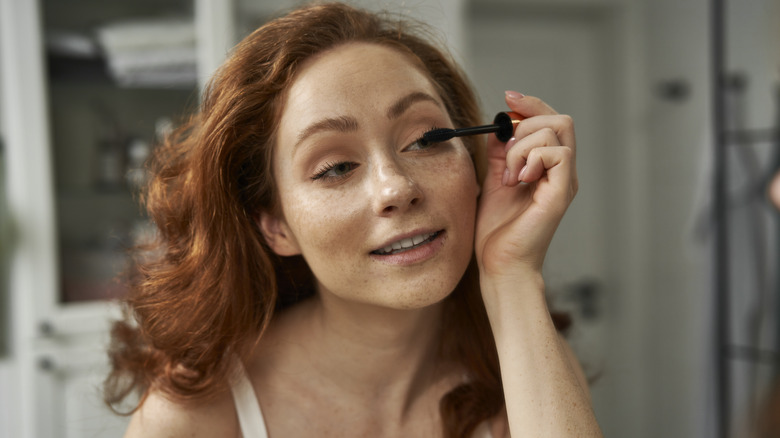
Prepping your lashes for falsies is an important step that you won't want to miss. Before you just plop them onto your lids, you'll want to curl your natural lashes first so that they blend in with your faux ones. This is especially crucial if you have stick-straight eyelashes. You may be wondering if you should be wearing mascara with your false lashes and a coat before application will provide a stable shelf for your falsies to sit on. The mascara will also allow the faux ones to grip onto your natural lashes so that the two look seamless.
After your faux lashes are applied, swipe on another light coat of mascara to blend any stray hairs that may be peeping out. I love using a deep black color as it makes the lashes pop even more. Go through them with an eyelash comb to get rid of any unsightly clumps. Check for any gaps along the lashline and if there are any, carefully apply a tiny bit of glue using the bottom part of your tweezer. Finally, go over the base of the lashes with your preferred eyeliner — I recommend using a liquid or gel formula as they won't drag along the strip.
How I chose my product recommendations
As a longtime makeup artist, I have used Duo eyelash glue for many years and have found the formula to hold up well on clients and myself. I've also used Ardell's false lashes extensively and the 110 and 120s I recommended are the most preferred out of my clients, as they're both natural-looking while providing extra oomph to their lashes. While I've yet to try the House of Lashes, the brand comes highly recommended by other makeup artists who have used them professionally and personally.
When considering the product recommendations, I took into consideration the price points and their accessibility. Both Duo and Ardell can easily be found at most drugstores and are affordable options compared to higher-priced brands.
