We Designed Simple Butter-Yellow Chrome Nails To Help You Get In On Spring 2024's Biggest Trend
We may receive a commission on purchases made from links.
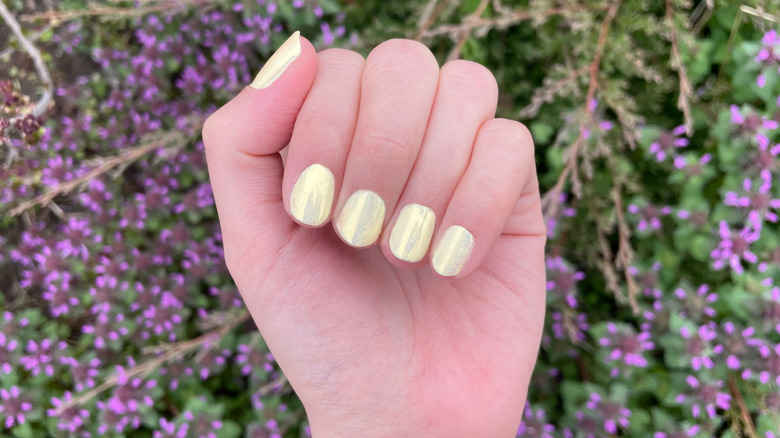
In case you haven't noticed, the hottest nail color this season is inspired by a rather chill dairy product. Thanks to the soaring popularity of butter yellow, the butter nails trend is huge this trend (and projected to carry over into summer), and manicurists are snapping up bottles of bright, sunny polish as we speak. Just like the real thing, this viral tint is a cool-toned yellow that's the perfect pastel for spring. While its golden hue looks stunning enough on its own, many nail-care fans have found a way to take it to the next level by incorporating chrome finishes into their butter-yellow sets.
Basically, yellow chrome nails have been all over our feeds lately, so it was time for us to take them for a spin. Using traditional and gel-based formulas, we put these cheerful chrome nails to the test. It turns out the old saying is true: Butter (or butter yellow) makes everything better. A chrome finish may seem intimidating for nail-art newbies, but pulling off this spring 2024 nail art trend is easier than it looks. Plus, our tried-and-true tips will help you get the look faster than you can melt butter on hot toast. Just make sure to wipe the crumbs off those pretty fingertips before getting started!
Supplies required for butter-yellow chrome nails
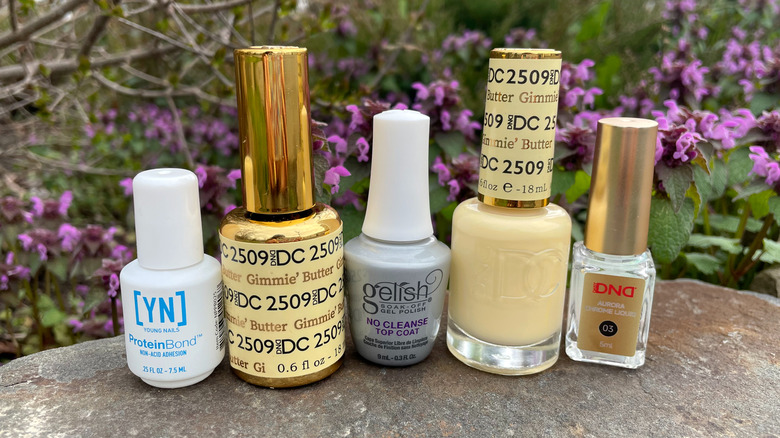
Whether you're using traditional air-dry lacquer or UV-cured gel nail polish, you'll need a few products to create show-stopping butter-yellow nails. If you prefer lacquer, look for a creamy, opaque yellow in a gloss or semi-gloss finish. We used DND Nails' Gimmie' Butter — which not only looks the part but also has a fitting name. The brand produces the color in a traditional air-dry formula, though it's also available as a gel. For a super shiny finish, make sure to grab a chrome topper. These effects come in liquid or powder form, and we chose DND Aurora Chrome Liquid in Bright Gold for easy cleanup. You can also experiment with a powder-based shimmer eyeshadow or pigment in a pinch — just pour or scrape a small amount of product and set it aside.
For gel nails, pick up DND Gimmie' Butter Gel Polish or a similarly creamy pastel yellow by another brand. You'll also need a base to affix the polish to your natural nails — and Young Nails Protein Bond is perfect for the job. A gel top coat, such as Gelish No Cleanse Top Coat, is also essential for butter-yellow chrome nails. If your polishes aren't labeled "no wipe" or "no cleanse," pick up a cleansing solution, like Gelish Nail Surface Cleanse, to prevent tacky gel nails. Lastly, you'll need a UV lamp to cure your set (Melody Susie's UV LED Nail Lamp is an affordable and compact option).
How to use traditional polish to create butter-yellow nails
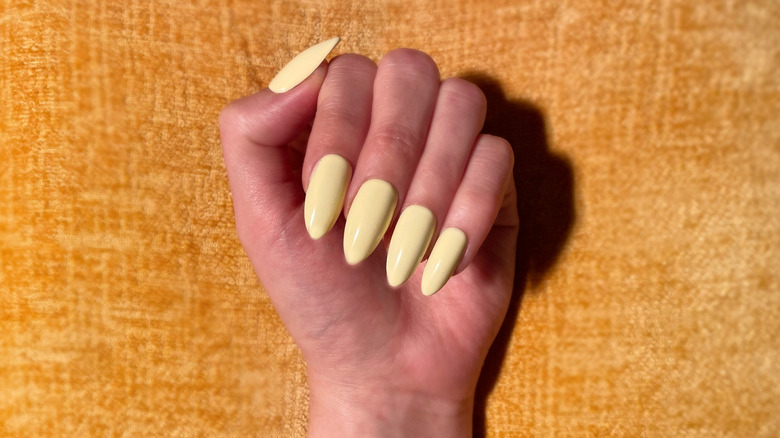
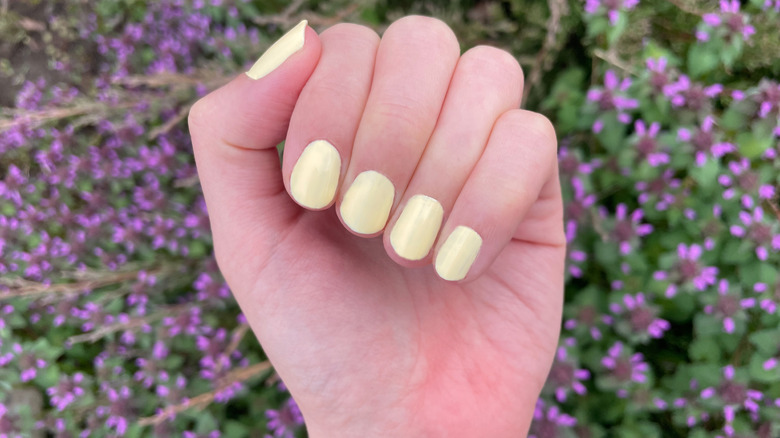
Regular lacquer may not last as long as gel, but it has a few advantages over gel nail polish, including quick application and easy removal. But no matter which polish you choose for your set, the process is fairly straightforward. First, file your nails or tips into the desired shape. Once you're satisfied with the overall look, soak your hands in a bowl of warm water to remove any debris, or simply give them a quick rinse instead. Next, apply a small amount of oil or lotion to your cuticles and lightly nudge them back with a wooden cuticle stick or silicone tool to smooth their appearance. Ta-da — you're ready to begin painting your butter-yellow nails!
Yellow nail polish can be slightly less pigmented than other colors, so you may need two or more coats to achieve a fully opaque finish. To streamline the painting process, apply very thin layers of polish between each coat, which can help speed up drying time. Whether you paint your nails with traditional or gel polish, it's crucial to allow each layer to dry completely before adding chrome effects. Otherwise, you may experience bubbling, lifting, or cracking throughout your polish or topper. Additionally, many chrome effects won't adhere properly to wet nails — so use this step as an opportunity to chill out with your favorite show or podcast until you're confident those talons are rock solid!
How to use gel polish to create butter-yellow nails
It's no secret that many nail artists prefer using gel, even if it may require a bit of a learning curve compared to classic lacquer formulas. For gel, start by applying sunscreen to your hands and cuticles, as many UV nail polish dryers can damage your skin. Allow the sunscreen to absorb for 10 to 15 minutes to optimize your protection. You can also wear a fingerless glove for added peace of mind. Now, it's time to slather on that butter. Prep each nail with a small amount of base coat, like Young Nails Protein Bond. Then, paint on a thin coat of butter-yellow gel, being careful not to coat the cuticles.
Gel polish flows more slowly than traditional nail lacquer, so it's very forgiving to paint with. Yet, it's also more difficult to remove once it sets, so always clean up any drips with a cotton swab dipped in rubbing alcohol before curing the polish beneath a lamp. The amount of time you'll need to cure your nails can vary depending on the products and lamp you use, though it's typically between 30 and 120 seconds per coat of polish. Once each coat is fully set, use a cotton ball saturated with surface cleanser to remove any tackiness. If any mistakes appear along the cuticles after curing, you can use a forked cuticle trimmer (not scissors!) to safely remove them.
Get mirror-like shine with chrome polish toppers
Now for the fun part: Chrome! Chrome effects are typically available in powdered or liquid form. If you choose another type of chrome, look for lighter shades like opal, white, champagne, or yellow. A darker tint, like purple or green, may completely change the final color of your butter-yellow nails.
When working with chrome, it's important to note that liquid is easier to control than powder, but both products can cause staining on fabrics and surfaces. Thus, it's essential to use a protective covering or mat over your work surface to protect against spills. For powdered chrome or shimmer pigment, you'll need a silicone tool or eyeshadow sponge. Using your applicator, pick up a tiny pinch of chrome dust and buff it on the surface of each nail. It may not look like much at first, but after a while, you should be left with a brilliant, ultra-reflective finish.
Liquid chrome must be shaken vigorously to mix up all of its sparkly goodness. It has a rather watery consistency, so work carefully to avoid spilling precious drops of product. Paint a small amount on each nail, and lightly brush any excess to coat the edges. Let the chrome set for about 10 seconds, and then use a silicone sponge or applicator to buff your nails until they develop a mirror-like shine.
Design ideas for butter-yellow nails
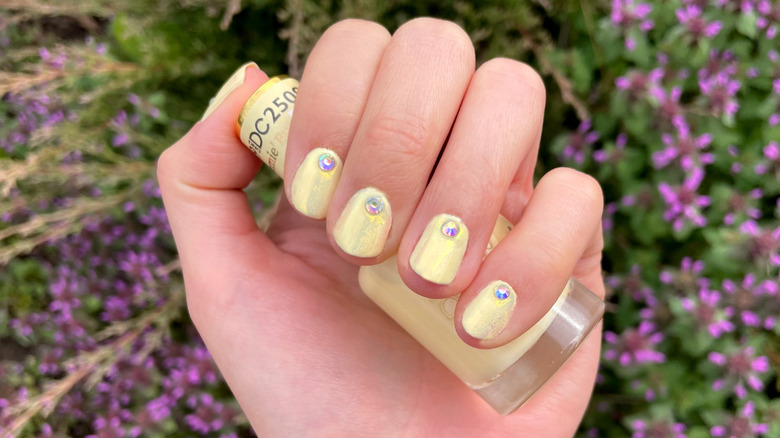
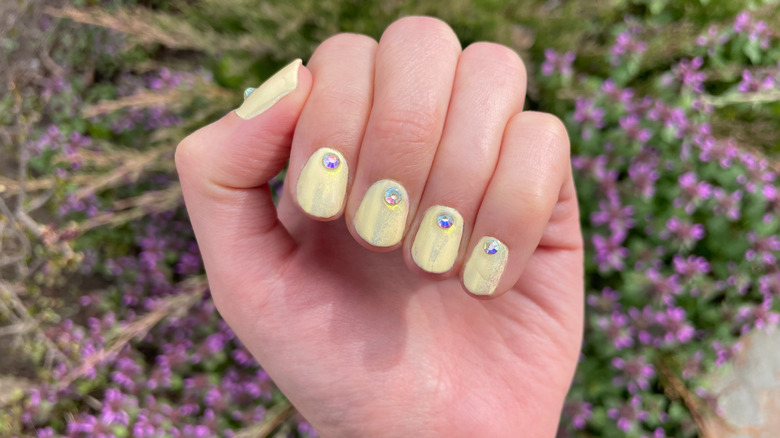
Butter-yellow nails are a trendy spring nail color no matter how you wear them, but it's always fun to add a bit of bling to your manicure. 3D nail art decals, like rhinestones and pearls, can make a big impact whether you use just one charm or deck out your entire set. The only downside? These little rascals can get everywhere, so you'll need to use a wax stick or pointed cotton swab dipped in clear polish to pick them up effectively. If working with traditional nail polish, use a thicker top coat like China Glaze For Rhinestones Only. For gel nails, a clear choice like Gelish No Cleanse Top Coat should do the trick.
Start by applying a small amount of top coat where you'd like to place your rhinestone or pearl. Next, use your wax stick or cotton swab to pick up a single jewel. Using your crayon or cotton swab tip, gently place the decal atop the freshly painted top coat. Then, use a small drop of top coat over the stone or pearl to seal it. If using gel, cure the nails for 30 to 60 seconds. Using a generous drop of gel top coat may cause a heat reaction while curing due to the thickness of the polish, but it will dissipate quickly and is no cause for alarm. And voila — your buttery rhinestone nails are sure to make everyone melt!
