Mistakes To Avoid When Overlining Your Lips To Capture A Natural Look
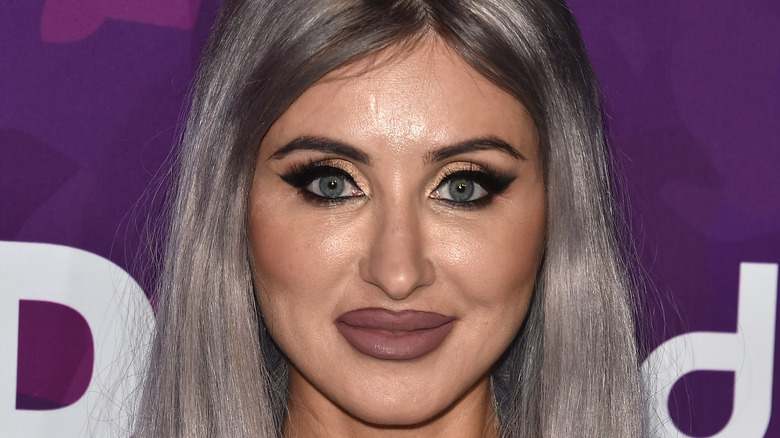
For those of us who are not naturally endowed with plump lips, the overlining game is a lifesaver. This trick takes lip liner, lipstick, and guts. One wrong step, and you're left with exaggerated, comical, and probably uneven lips that are miles away from a natural look.
Unfortunately, finding the perfect way to line your lips for that luscious pout takes time and a whole lot of practice. But before you dive headfirst into your overlining venture, there are a couple of common mistakes that you're bound to make. The only way to achieve those natural-looking plump lips is to identify and avoid these slip-ups.
Knowing where to start, understanding how much is too much lining, and picking out your lip liner and lipstick shades properly are crucial for perfectly overlined puckers. You'll also need to make sure that you're filling your lines in and then blending them for subtlety.
Starting from the middle
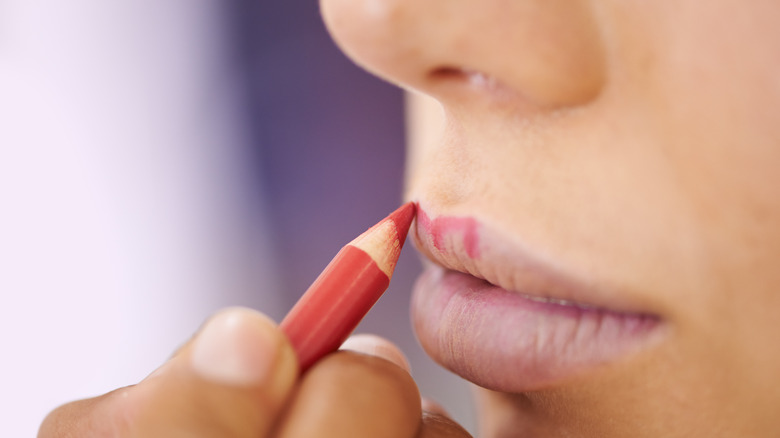
Starting from the middle might seem natural, but when it comes to your lips, the Cupid's bow shouldn't be your starting point. The correct way to start the overlining process is by filling in the outer corners of your mouth first, according to L'Oréal Paris.
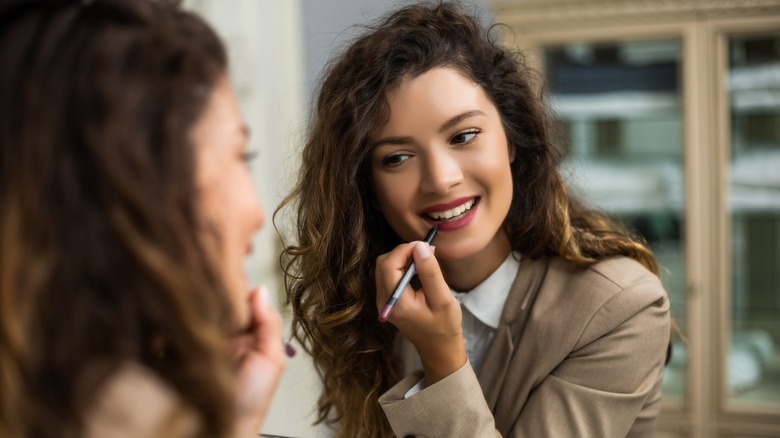
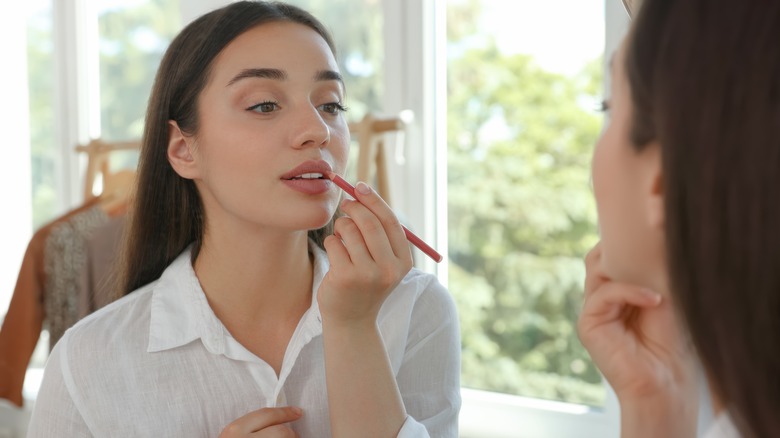
Start outlining either side of your lip corners, exaggerating the upper corners of your mouth slightly by adding the liner to the skin just above your upper lip. Do the same on your bottom lip, overlining the corners by using a light hand and "shading" them so you don't accidentally take it too far. Only use a small amount of product and build it up rather than drawing on a stark line from the get-go. It will be a lot easier to fix mistakes, and the final result will be more natural this way.
After the corners are done, you can move on to the Cupid's Bow using the "X" method. This will make the drawn lines more in tune with your natural lip lines.
Going overboard with overlining
Overlining doesn't mean you have to overdo it, especially if it's a natural look you're after. The trick is to find the balance between giving yourself bigger lips and making them look natural. To do this, you have to know when to hold back with the lip lining.
When overlining your lips, make sure you're not drawing lip liner way above your natural lip line. Glowsly explains that it can help to learn where your vermillion border (the border of your lips, which is usually a few tones paler than the rest of your skin) is located. If you can follow this border, you won't have to worry about getting carried away with your overlining.
If you have seriously thin lips, you can afford to go a little bit more overboard than someone with larger natural lips. There's definitely an emphasis on the little! But if you already have a pair of full lips, only veer from the natural outline very subtly.
Conflicting shades for your lip liner and lipstick
Your lip liner and lipstick should be matchy-matchy. In other words, they should complement each other in terms of both shades and finishes. So, to avoid buying a lipstick and lip liner combo that works against itself, there are two things to look out for. The first is the finish of the product, per L'Oréal Paris. If your lipstick is matte, then your lip liner should also be a matte product, and if your lipstick has a glossy finish, your lip liner should be of a glossy finish as well. When these two products are of the same finish, it makes for a long-lasting natural lip look that's easy to blend.
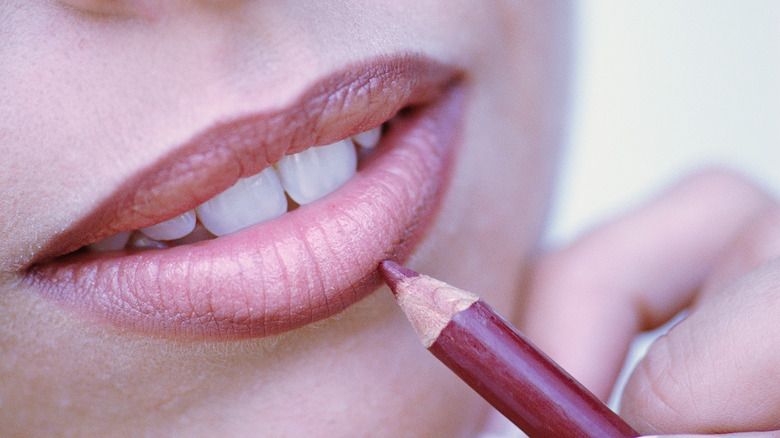
The second thing you'll need to look out for when picking your lipstick and lip liner is their shades. The shade of your lip liner should be two shades darker than your lipstick, as this will allow you to contour your lips and give them that depth that's required for a fuller look. If you go with a shade that's too light, the overlining won't have much impact. Go for something too dark, though, and you'll be left with a very obvious-looking overlining job.
Forgetting to fill it in
The key to avoid an overlining disaster is subtlety, and a huge part of that is blending your lip liner in with the rest of the color on your lips. That's impossible to do when you don't fill in your lips properly. Once you've drawn the contouring lines, make sure you fill everything in evenly. If you've chosen your lipstick and lip liner shades to complement each other, filling in the outlines and blending them with your lipstick will be an easy task, which will leave you with seamless natural-looking plump lips.
It can help to first fill your lips in with lip liner rather than going straight to your lipstick, as the smaller surface area can make it easier to stay on the right side of the line as you fill in close to your lip's edge. As Beautymone reveals, using lip liner underneath your lipstick will also help your lips to last for longer. Once your lips are completely filled in, you can go in with your lipstick, or even a gloss.
Leaving harshly defined edges
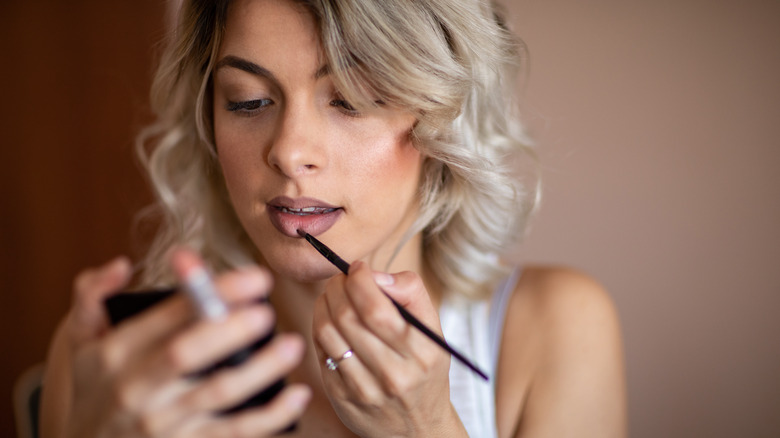
The last thing you want when overlining your lips is for there to be a very obvious outline around your lips after you're done with your lipstick. To avoid the contrast between the sharp lines of your lip liner and your more blurred lipstick application, don't forget to smudge those edges. Ipsy recommends taking a damp Q-tip and trailing it over your lip liner gently, but you can also use a lip brush to smudge out those fine lines you've created. Blending the corners and edges will provide a more natural aesthetic instead of a blunt-edged look that appears heavy and unnatural.
To finish the look, amplify the full effect by using a tiny bit of highlighter in the center of your lips, per Real Beauty School. This will draw attention to the central point of your lips and create the illusion of an even bigger pout.
