How To Create The Makeup Routine That's Best For You (Because It's Not One-Size-Fits-All)

We may receive a commission on purchases made from links.
What is the secret to curating the perfect makeup routine, you ask? Truthfully, a single holy grail routine that works well for everyone simply doesn't exist. Instead, a killer makeup routine should complement your features, skin type, and concerns. Makeup tutorials and trends sometimes create unrealistic beauty standards that may not be compatible with different facial features, skin tones, and textures, making it challenging to find a routine that works for you, specifically, and helps you achieve your desired look.
Creating a routine that works for you takes a bit of trial and error, regardless of whether you're new to the beauty scene or an expert makeup artist. At the core, however, there are eight steps that make up the foundation of any beauty look which includes everything from skincare to highlighter. The key to mastering your makeup is to experiment with various products and techniques to determine the look that makes you feel confident and ready to face the world. Follow these tips and tricks to help you settle on the perfect routine.
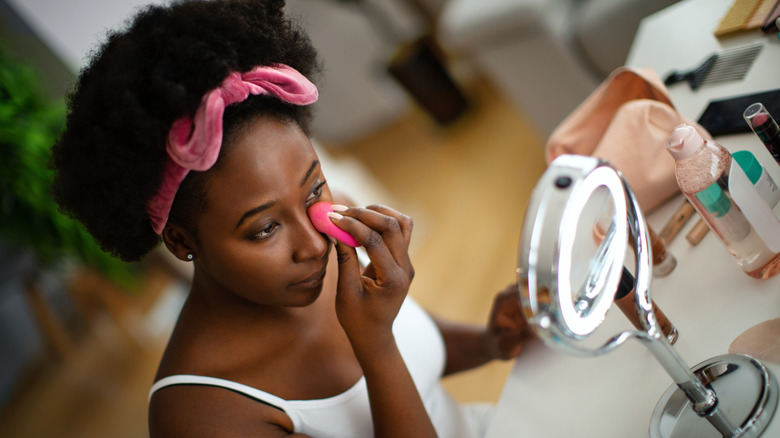
Start with healthy skin

An effortless makeup routine requires a healthy base. Beginning your makeup routine with clean and hydrated skin will make your morning regimen a breeze. For flawless makeup application, prep your skin by cleansing and follow up with standard skincare products, which should include toner, serum, moisturizer, and sunscreen — in that order. If you have time to expand your skincare routine before makeup then, by all means, do so. But moisturizer and sunscreen are essentials, so don't skip ahead without applying the basics.
Using skincare products that work with your skin type is incredibly important for achieving a healthy base for your foundation. In other words, ensure your cleanser and moisturizer do not strip your skin if you experience dry patches or peeling. Similarly, those with oily or acne-prone skin should avoid heavy products that contain comedogenic (pore-clogging) ingredients such as cocoa butter, laureth-4, lanolin, coconut oil, and cetyl acetate.
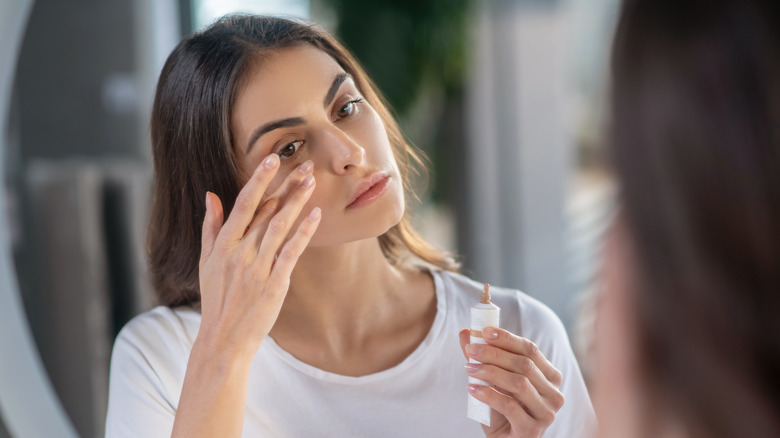
Prep with primer

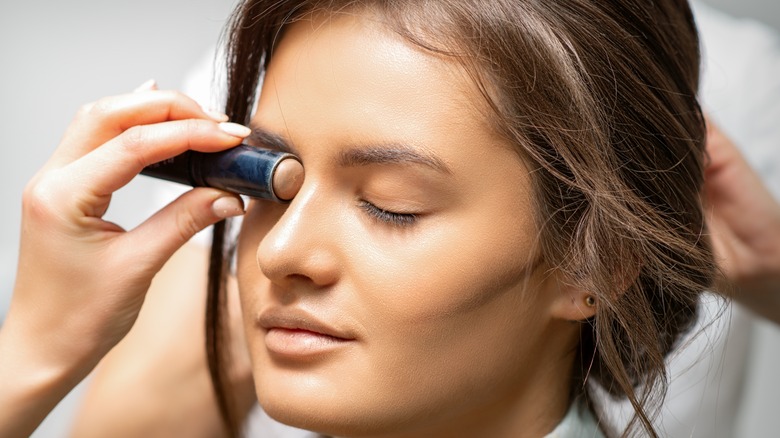
After applying your skincare, wait a minute or two before moving on to the next part of the routine: a primer. Makeup primers are underrated products that prolong the wear of your foundation and minimize the appearance of pores. While primers are not regarded as essential, they certainly affect how well your makeup turns out as the hours go by. Choose a primer that targets your specific skincare concerns for the greatest effect. For instance, if aiming for the glass skin look, then use a hydrating primer such as Milk Makeup's Hydro Grip. Those with large pores and oily skin should look for a pore-refining primer to mattify the skin. Lastly, acne-prone skin will benefit from an oil-free primer with redness control and non-comedogenic ingredients. Keep an eye out for dimethicone in the ingredient list, which is a common ingredient in primers despite its potential for causing breakouts. Many people also opt to use a setting spray in lieu of primer, which works just as well.
This step also includes other types of primers, including lip and eyeshadow primers. If your makeup look calls for a matte liquid lipstick, a lip primer works wonders to create a crease-free base. Many people also swear by eyeshadow primer, mainly if the skin surrounding your eye contains wrinkles or fine lines.
Foundation basics
Foundation is, arguably, the star of the show in the everyday makeup routine. Your choice of foundation will make or break your look, so choosing a foundation that suits your skin type and desired makeup style is crucial. There are several factors to consider when selecting a foundation: coverage, finish, and formulation. If the goal of your foundation is to mask blemishes and imperfections, then search for a foundation that provides medium to heavy coverage. On the other hand, if you want a radiant foundation that complements your natural skin, look for a foundation with sheer or light coverage.
Next, decide between a matte or dewy finish. Those with oily and acne-prone skin prefer foundations with a matte finish as they provide fuller coverage to conceal breakouts, redness, and hyperpigmentation. Though, matte finishes appear cakey if not properly blended or if applied to dry skin. Dewy foundations are better suited to dry skin as it creates the appearance of healthy, glowing skin. But the downside to a dewy foundation lies with its trademark glossy finish which reflects light and draws attention to certain areas of the skin, including breakouts and bumpy texture. If your skin naturally veers toward the oily side, consider a matte finish.
Don't forget to select the correct formulation for your routine. This is often a matter of personal preference, but if you value convenience, choose powder or cream. And if you want full coverage, then use a liquid foundation.
Concealer tips to live by
Concealer comes in liquid, cream, or powder form. All types of concealer are buildable, though cream concealers are often thicker in consistency, so they provide heavier coverage than liquid or powder. Cream and liquid concealers are suitable for dry to oily skin, as they are available in matte, dewy, or sheer finishes. Powder concealers, on the other hand, sometimes emphasize dryness and creasing, so severely dry skin will not benefit from powders. Powder concealers do not necessarily provide strong coverage, but if you prefer concealers that are easy to touch up while on the go, then powders work well.
When searching for the right shade of concealer, look for a shade that is one to two shades lighter than your natural skin tone. Using a lighter shade will brighten the under-eye area and help conceal blemishes that show through your foundation. Another factor to consider is your skin's undertone, which will fall under one of three categories: warm, cool, or neutral. The color of the veins found under the skin of your inner wrist will help you determine your undertone. Green veins are warm-toned, while bluish-purple veins are cool-toned. If you notice a combination of both, then you have a neutral undertone.
Define and sculpt
Although often used interchangeably, bronzer and contour serve two different purposes. The placement of these two products transforms your face in two different ways. Your bronzer, for instance, should be warm in tone, as you apply it to areas where you want to draw attention to. Bronzer should help bring warmth and dimension to certain areas of your face to create a natural sun-kissed look. Typically, the areas you want to highlight depend on your individual features and face shape, but the common features to highlight include the temples, along the top of your hairline, and under the highest point of your cheekbones.
Contour, on the other hand, should be cool-toned as it is meant to add depth to your face. A well-placed contour will create shadows and draw the focus away from target areas to bring neighboring areas into focus. If you want to accentuate your cheekbones, for instance, you would place your contour directly underneath the bone to create a dark, shaded space, which, in turn, will draw attention to the cheekbones above. The application of bronzer should be sharp and precise compared to the feathered application of bronzer. The placement of the product should be intentional, as contouring is designed to sculpt and manipulate rather than highlight.
Revitalize with rouge
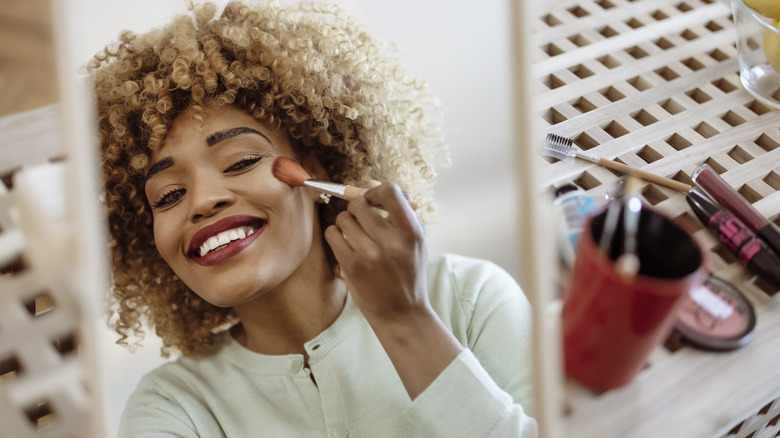
No look is complete without a puff of rouge. While often overlooked and underestimated, blush brings a much-needed flush of color back to the skin after layers of foundation and concealer. A generous stroke of color across the cheeks will create a natural glow that contributes to the appearance of healthy and youthful skin. The two main areas to apply blush include the apples of your cheeks or a sweep along the top ridge of your cheekbones, closer to your hairline than the center of your face. Blush placement depends on personal preference, so feel free to experiment to decide which look you enjoy more. If your goal is to soften your look, however, then apply blush to the apples of your cheeks, as applying blush above your bronzer and contour will further sculpt your face to create the illusion of a more defined bone structure.
For those less experienced with blush, stick to classic powder blush. Once you feel comfortable with playing around with blush placement, then you can move on to mastering a cream blush, which can be tricky to apply due to its balmy consistency.
Make your eyes pop

Sometimes, you don't have time to apply a full face of makeup. And while you can get away with forgoing foundation, bronzer, or contour, eye makeup will help you feel and look decently put together when you leave the house. After all, the eyes are the window to the soul, or so they say. Eyeliner is another understated makeup product that has the power to transform your look and, thankfully, it's beginner-friendly. With so many fun ways to apply eyeliner, it's nearly impossible to get it wrong. The easiest product to start with would be liquid eyeliner. Start with applying a simple swipe of liner across your upper lash line, and then, once you feel more comfortable, work your way up to winged liner to achieve a sultry cat-eye look.
Next, frame your eyes by filling in your brows using a brow gel or pencil. Eyebrow gels or pomades work well on thick brows and for those who prefer a no-makeup look, while brow pencils help define and shape brows. Thick rectangular brows are, fortunately, no longer trending, so avoid drawing a thick border or applying thick layers of gel. The key to perfecting your eyebrows involves enhancing your natural shape and taking care not to overline. Try experimenting with various brow shapes, such as straight or arched, to see which look complements your face shape.
Finishing touches
The last step in your makeup routine should bring the entire look together. First, apply a powder or stick highlighter to the areas of your face where the sun naturally hits, such as above the cheekbones and on the tip of your nose. If you enjoy a radiant makeup look, apply a stroke of highlighter to the upper bridge of your nose and the inner corners of your eyes to brighten your face. You can also apply it to your cupid's bow before you follow up with your lip products.
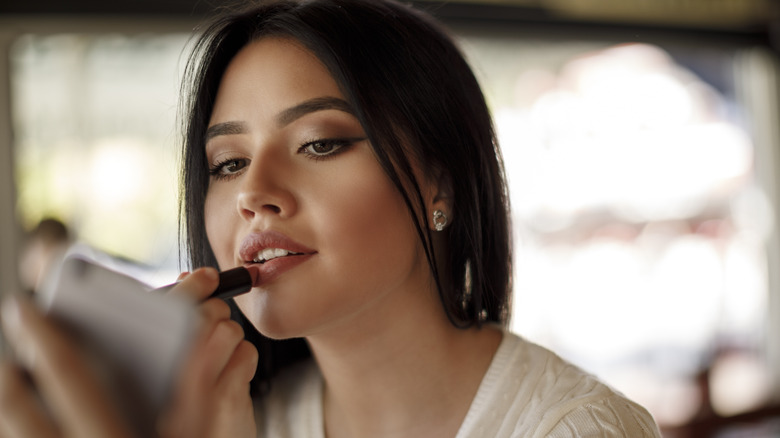
After highlighter, it's time to add some color. Lipstick enhances your makeup, and, sometimes, a lack of color can make your look appear incomplete. Before applying lipstick, use a lip liner to outline the shape of your lips and prevent lipstick from bleeding. If you want to give the appearance of larger lips, you can also overline them. Next, pull out your favorite shade of lipstick and apply it within the lines. For a natural and subtle look, use a clear gloss or a tinted lip balm instead.
Last, but not least, remember to use a setting spray or powder to set the makeup in place. Setting powders are a perfect option for those who want to mattify their skin, while those who enjoy a dewy look should opt for a spray. It may take a bit of trial and error, but once you find a routine that works for you, getting ready feels fun and easy.