4 Ways To Dry Your Makeup Brushes That Won't Take Forever
Everyone knows the importance of cleaning their makeup brushes frequently. Not only are clean brushes essential for the best application, but they are an important health consideration. Dirty makeup brushes are filled with dead skin cells, leftover products, bacteria, and dirt. This combination of factors on your brush can cause acne issues and other skin problems over time. When these items are layered onto your skin, it's easy for them to clog your pores and cause acne at each swipe. Apart from acne, you also risk getting a skin infection because of the high levels of bacteria on the brush. Depending on how you're storing your makeup brushes, it's possible you can even grow mold on the bristles of your brush.
Washing your brushes should be on your weekly to-do list — or at least at the top of your priorities. Although it's a chore, washing your brushes is simple. All you need is water and mild soap to get rid of some of that gunk that clogs your brushes. However, one of the most lengthy aspects of the process is in drying your makeup brushes. Letting your brushes air dry can take up to 12 hours before they're ready for use. If you're in a rush, it can be difficult to wait so long to be able to use your brushes. Thankfully, there are simple ways you can quickly get your makeup brushes ready for use after you've given them a thorough cleanse.
Hang them upside down
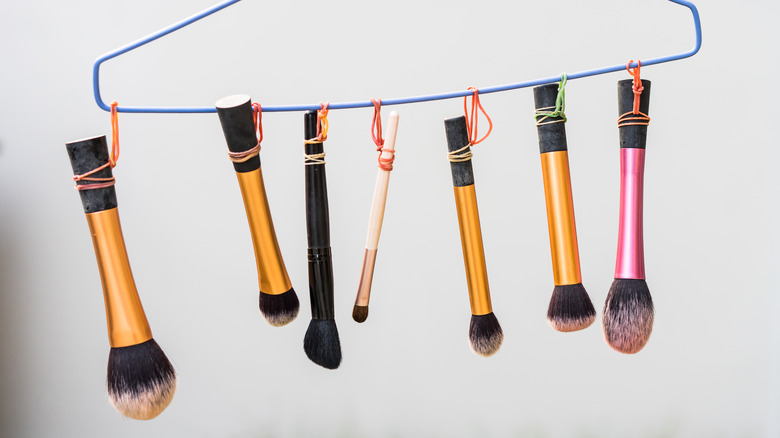
The most common way of drying your makeup brushes involves leaving them out on top of a towel. It's typically recommended to leave your brushes hanging over the edge to have the water pulled downward and prevent water from accumulating in the bristles. To quicken this process, hang your makeup brushes upside on a drying rack or tie them onto another piece of furniture. Hanging them upside down will pull the water down faster than over a ledge, which gets rid of the water faster. If your goal is to dry your makeup brushes faster, the key is getting rid of the moisture in the brush.
Hanging your makeup brushes upside doesn't need to cost you anything. While there are drying racks for sale that have slots for you to easily insert your brushes, you can also achieve this with items you already own. Using a hair tie or other rubber band, tie your makeup brush onto a hanger or rod. No matter how you choose to do so, the only factor to consider is that your brush hangs upside down in a vertical position.
Blowdry your brushes
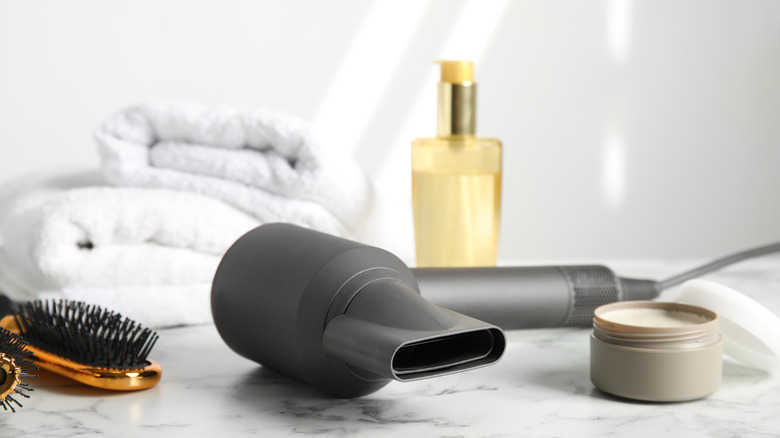
While it's not typically recommended, you can also use a blow dryer to dry up some of that excess moisture. This trick should only be used when you're in a hurry and not as your go-to drying routine. Because the bristles on makeup brushes are held together with glue, you want to be careful to not overheat the brush, as this can melt the glue and cause your brush to shed. Avoid using the blow dryer too close to the bristles, as that can be a potential fire hazard.
To dry your makeup brushes with a blow dryer, Ellis James Designs recommends setting the dryer to the coolest air setting on low to prevent it from getting too hot. Hold your brush upside-down and aim the dryer pointing downwards. Avoid pointing your blow dryer straight into the brush as this will melt the glue holding it together. Move the blow dryer around the outside of the bristles, never keeping it in one spot for too long. Take breaks to reshape your brush into its correct shape and to let the brush cool down. Once your brush is dry, you are set to go.
Wrap them in a towel
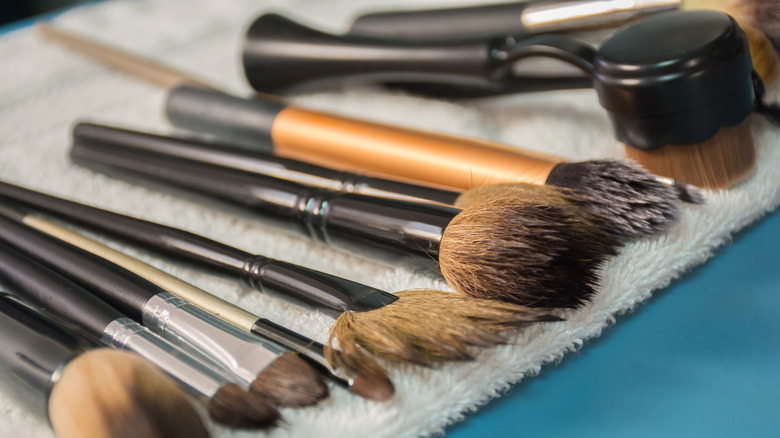
Although leaving your brush on the towel can take almost a day to completely dry, you can help quicken the process. Wrap your brushes into the towel, completely covering the bristles in the process. To get the best out of this trick, you may want to do each brush individually. Once you've wrapped the bristles, press down so any excess water that's still in the bristles is squeezed out. You don't need to squeeze too hard, just enough for the water trapped inside is able to be released. Depending on the amount of water still inside the brush, you may need to try this a few times until it is completely dry.
Another way you can use your towel to get rid of the excess water is by wrapping the brush immediately after washing them. If you plan to wash multiple brushes at a time, roll your brush into the towel and leave it there while you continue to wash the rest of your brushes. Once you are done washing all of your brushes, squeeze out the excess water. The brushes you placed first should be closer to being dry as the towel soaks up the excess moisture.
Remove excess water
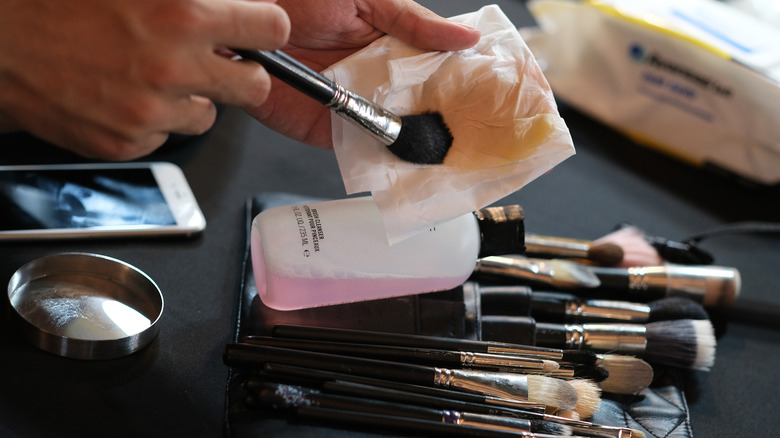
If you have a bit more time but don't want to wait a whole day before using your makeup brush, you can tap out the excess water to help hasten the drying. Using the same technique as when you clean them, run your wet brushes along the ridges of a dry cleaning pad. This will help expel any water still in the brushes, helping move the drying process along. You can also quickly tap out any water onto a towel or cloth to soak up the moisture. Avoid rubbing your brush too hard along the surface or towel to prevent any unnecessary shedding.
Pressing out the water is the easiest way to help your brushes dry quicker. While it may not give you dry brushes instantly, it also helps keep the integrity of your brushes. No matter how you plan to dry off your makeup brushes, be careful not to take too aggressive action. When wet, your brush bristles can easily fall off due to the glue becoming loose.
