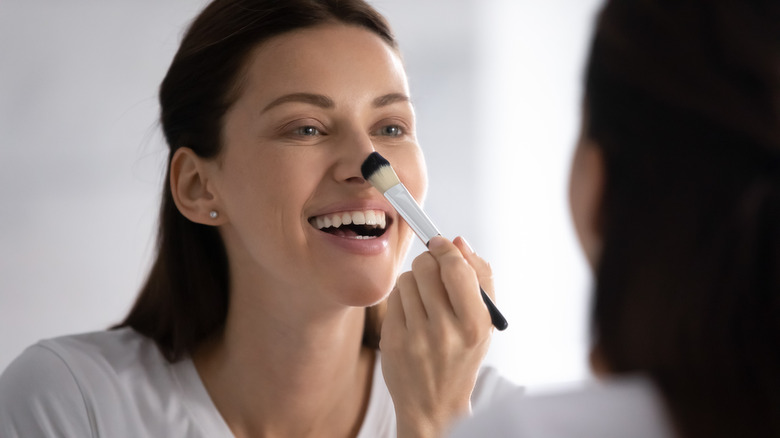
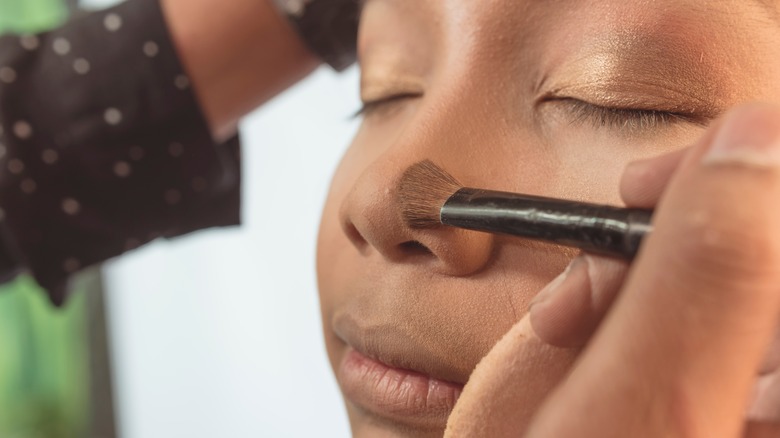
These Tips For Nose Contouring Are So Good They Might Make Rhinoplasties Obsolete
We all want the perfect nose and it comes as no surprise that rhinoplasty is one of the most in-demand plastic surgery procedures. In fact, North Raleigh Plastic Surgery states that nose jobs average about 225,000 procedures a year. While some of these surgeries are for medical issues, such as a deviated septum, many go under the knife for cosmetic reasons.
While there's nothing wrong with plastic surgery, it's not always necessary to shell out money and suffer bruising for several weeks in order to achieve a slimmer nose. Using makeup tricks might be just as effective as rhinoplasty. The benefit of not undergoing permanent surgery is that popular nose shapes change over the years. Long, regal noses might be in demand one year, while button noses may be the next trend. Additionally, some of you may want to make your nose slimmer, while others might want to draw out the bridge more. Once you determine how you want to sculpt your nose, grab your makeup kit and start contouring.
For the best contouring, you're going to need these products
To get the perfect contour, you're going to need more than just your bronzer. Contouring involves using darker and lighter shades of makeup to manipulate the shadows and peaks of your nose. You're going to need a concealer (preferably cream or liquid) about two to three shades darker than your skin color. Try to aim for a neutral tone that is devoid of too much orange or red. To highlight your nose, you'll need makeup that's about two shades lighter than your skin tone. Matte formulas are best, as you don't want any shimmer to draw attention to your contouring. You'll want the end result to look as seamless as possible.
Along with your cream or liquid formulas, a darker powder or bronzer is great for finishing touches and getting into small areas. A light shimmer powder is also great for a final highlight at the end. Now for the tools — a small angled brush and a flat one are needed for drawing straight lines, while a couple of small fluffy brushes are used to blend. A makeup sponge, such as a Beautyblender, will also come in handy for buffing. Finally, you'll need a great setting powder to lock in all your hard work.
Follow these steps for a sculpted nose
Most of us contour our noses to make them appear slimmer, with a pronounced bridge. In order to achieve a nose like Bella Hadid's, start your contour from your inner brows. First, you'll want to apply your regular concealer and foundation as a base. Next, using your small, angled brush and your darkest shade, draw a thin line starting from where the hollows of your inner eyes start down to the sides of your nostril. Repeat on the other side, making sure the lines remain straight and are close to the bridge of your nose. The closer the lines are to each other, the thinner your nose will look.
Take the dark color and draw a U shape right under the tip of your nose. You can also add contour to the sides of your nostrils to slim them up. If you want a button nose, draw a horizontal line right above the tip, connecting the parallel lines. Don't blend yet — let the makeup set for a bit while you add your highlighting color.
Where to add the lighter color to draw out your nose
Contouring and highlighting are all about accentuating the peaks and valleys of your face. Now that you've added shadow to your nose, it's time to draw out the areas we want to add prominence to. Using the lighter concealer shade, highlight the area between your brows by painting small strokes in a downward motion, meeting in the center to make a wide V-shape. Take the same color and draw a thin straight line down the bridge of your nose, making sure not to touch the darker color. Stop just where you draw the horizontal line across the tip of your nose with your contouring shade. Continue the lighter color underneath the line and draw a small triangle with the pointy part facing downward.
If the sides of your nose are narrow, add some of the highlighting color to the area in order to make them appear wider. Remember, darker colors appear to recede, whereas lighter colors draw out features. After you're finished applying the two contrasting shades, it's time to blend for a seamless look.
How to blend the contour for a natural look
The tip to making contouring look natural is all in the blending. However, you don't want to blend so much that you muddy the two colors together. Now that your contour color has set for a bit, it's time to work that into the skin. Using your small fluffy brush, buff the sides of your nose with short sweeping motions moving away from the bridge. Blend just enough so that there are no lines of demarcation, but not so much that you lose the contour effect. Take the same brush and go under your nose and across the tip.
Since you want to keep the lighter color pretty much intact, you won't want to blend the highlighted areas too much. Simply take your makeup sponge and lightly pat up and down the bridge of your nose so that the edges blend in with the contour. If you added the lighter color to the sides of your nose, blend that area as well. Now that you're done with the bulk of the contouring, it's time to add some definition.
Go over your contour with a dark powder and some shimmer
Now is the time to take out your bronzer and go over the darker areas. You can skip this step if you're happy with your results or pressed for time. However, if you have an extra minute, these tips will further make your nose look like it was sculpted by the best plastic surgeon in Beverly Hills. Using your small fluffy brush, take a bit of the bronzer and tap out the excess powder. You don't want to pile on too much color or it'll end up looking muddy. Lightly go over the sides of your nose, starting from the inner eyebrows to the tip. Brush the bronzer underneath your nose to create a deeper shadow and go along the horizontal line at the tip.
Taking your shimmering highlighting powder and your smallest fluffy brush, draw a straight line across the very tip of your nose. Some people prefer to draw a small circle, which works just as well. Finally, draw a straight line down the bridge with the shimmer to really define the nose.
Set your makeup with finishing powder
You're finally done contouring your nose and now it's time to seal the deal. You'll need a makeup sponge and a medium fluffy brush for this last step. First, take your sponge and dip the pointy side into translucent setting powder. Banana powder also works great for setting makeup. Starting from the outer edges of your dark contour, pat the powder along the sides of your nose and underneath your eyes. The result should be an upside-down, elongated triangle. Next, dust the powder off with a medium fluffy brush.
Lightly go over the middle of your nose with the powder, being careful not to disturb the makeup too much. You just want enough to set the cream or liquid products. If you need another dusting of highlighter, add some over the powder. The final result will have people marveling at your new nose, but little will they know that it's all due to some simple makeup tricks.


