Treat And Prevent Gel Nail Lifting With Our Favorite Tips
Gel nail lifting and chipping are caused by a handful of events. The biggest culprits are incorrect nail prep, negligent gel removal, and poor hydration or nail care. Gel manicures require an established type of application and detailed care that will become second nature to you as you educate yourself on the specifics of how gel products perform and react to certain substances and maintenance techniques.
From the best nail prep practices to maintaining your manicure in the weeks to come, there are things you should be doing to keep your gel polish intact until you're ready for a change. Unsurprisingly, treating and preventing nail lifting is not as easy as using hand cream once per day or remembering that your nails aren't to be used as tools.
There are seemingly countless preventative measures for you to take and a few ways to treat a chipped gel manicure. Here, we've gathered our favorite tips, making it easy for you to keep your nails healthy and look their best before, during, and after a manicure.
Prevent chipping before it happens
There are steps you can take to prevent chipping — and they're pretty easy. In fact, preventing chipping instead of fixing it as it happens will increase the longevity of your manicure and keep it looking better longer. From the moment you decide to get a gel manicure, you can start taking measures to keep your gel nails lasting as long as possible.
Firstly, keep your hands dry on the day you plan to get gel nails. Take your shower the night before, wear gloves when doing chores that involve water, and especially avoid soaking your hands on this day. After getting your nails done, you should still keep your hands dry as much as you can. Hot water, in particular, can be detrimental to your manicure.
Continue to wear gloves when working with wet laundry or dishes. Keep your showers short and lukewarm, and use a scalp brush massager to work products into your hair instead of your nails. Never use your nails as tools, and try not to chew on them, either. With chipping prevention and good gel application, your nails can look great until they grow out.
Use cuticle oil regularly
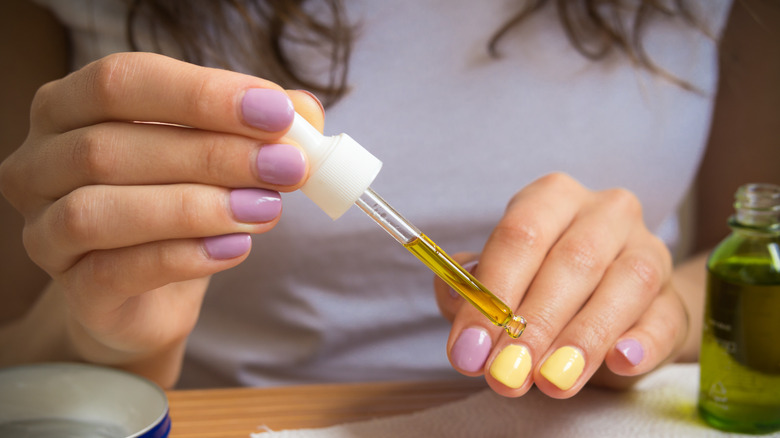
Applying cuticle oil daily is essential to the health of your nail beds, your cuticles, and the skin around them. Not only will cuticle oil make your nails grow faster and create a nail bed that is stronger, more flexible, and less brittle, but it also helps your gel manicure last longer.
Most cuticle oils are made from natural hydrating ingredients such as argan oil or jojoba oil in addition to vitamin E, rosemary oil, or apricot kernel oil. You want to be on the lookout for these ultra-nourishing oils when finding a cuticle oil that works well for you.
Some popular options to kick off your search include Essie's Apricot Nail & Cuticle Oil, Sally Hansen Cuticle Rehab, and CND Solar Oil Nail & Cuticle Treatment. These products have great reviews and are said to help restore your nails, whether you prefer nail extensions, gel manicures, or keeping your nails bare.
Hand creams also keep your nails healthy
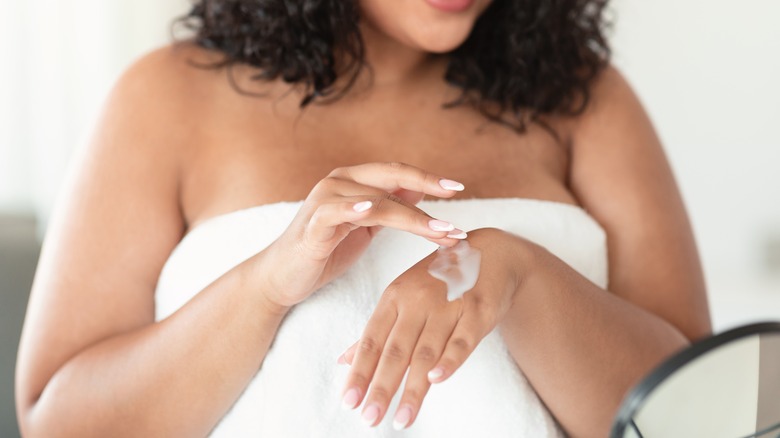
Hand cream, in addition to cuticle oil, can protect your skin and nails from environmental threats. By boosting moisture and elasticity, the skin around your nails will stay healthy so you don't experience dehydration and skin peeling that can ruin your manicure. Many hand creams contain moisturizing and vitamin-rich ingredients that keep the skin happy.
After getting your nails done (or doing them yourself), you must use a hand cream daily. Lack of moisture, which can occur from hand washing, working with your hands, and spending time in the sun, is among the primary causes of nail breakage and chipping.
Hand cream restores and locks in moisture to combat this. And, as a bonus, using cuticle oil with hand cream regularly also brings life back to a days-old mani that has seen a bit of wear and tear. Adequately hydrated hands will always hold onto a manicure longer. They also look and age better, especially if you invest in an anti-aging hand cream, so keep those hands nice and hydrated.
Ensure thin coats of gel are applied
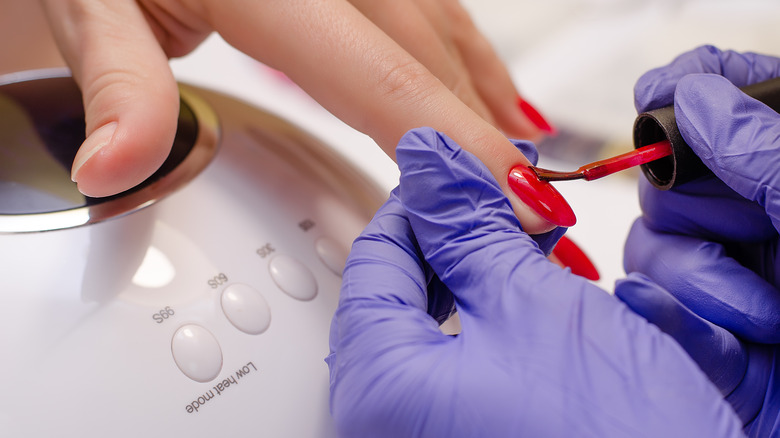
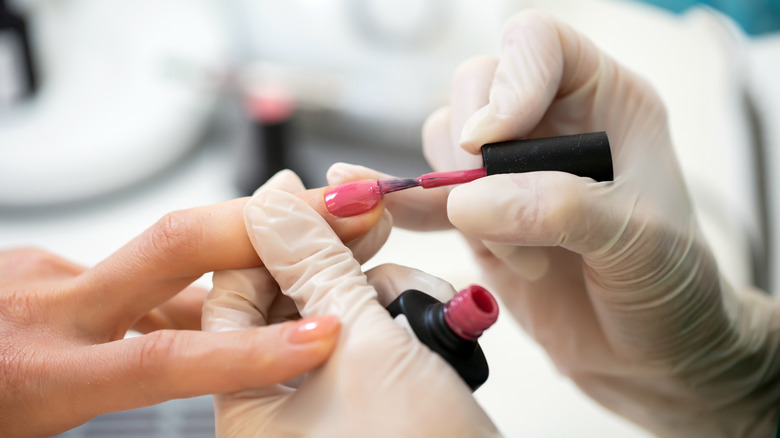
If you apply your gel polish yourself, thin coats of polish will help your manicure look better and last longer. When using thin coats, the product can cure fully and build on top of each coat. Thick layers peel and chip more easily, so avoid painting this way, even if you're in a rush. Not to mention, thickly-applied polish tends to look bumpy and messy. If you are learning to do your nails at home, take it slow and ensure that each coat of gel is fully cured before painting over it.
DIY gel nails can be done easily and look as good as a professional set with the proper technique. Nail Career Education posted a YouTube video demonstrating the proper method of using traditional nail polish. Suzie, the professional nail technician who hosts the channel, teaches that you should always start "three-quarters of the way up" the nail, not at the top of the nail, to avoid pooling in the cuticle.
Each coat should only take about three swipes, and you never want to apply so much pressure to the brush that the fibers bend. You'll push the polish with your brush as close to the cuticle as possible and swipe down from the right, left, and center. After drying, you'll likely only need one more thin coat to cover the entire nail with opaque color.
Cap your free edge
You may have heard "cap your free edge" from manicurists and professional nail technicians, but what exactly does this mean? Your free edge is the tip of your nail — fake or real — not directly on top of your nail bed. When applying gel nail polish, you must add a thin coat to the vertical edge that hangs off. Adding a cap of gel polish to this area will reduce the risk of oils or water finding its way between your natural nails and gel application.
It's best to cap your free edge with every coat, but doing so once with your gel color and once with your top coat will do the trick in a pinch. The longer your nails are, the easier it is to apply polish to your free edge. On the other hand, if your nails are extremely short, you may have difficulty perfecting this technique.
Typically, the best way to cap the free edge of a short nail is to hold your applicator brush backward and push the polish onto the vertical edge. Afterward, you will have to even out your gel by swiping over your entire nail again. It may be messy on your first few tries, and you'll likely have the polish on your skin. Just keep some acetone and a nail brush handy to remove the gel from your skin before curing.
Watch out for alcohol
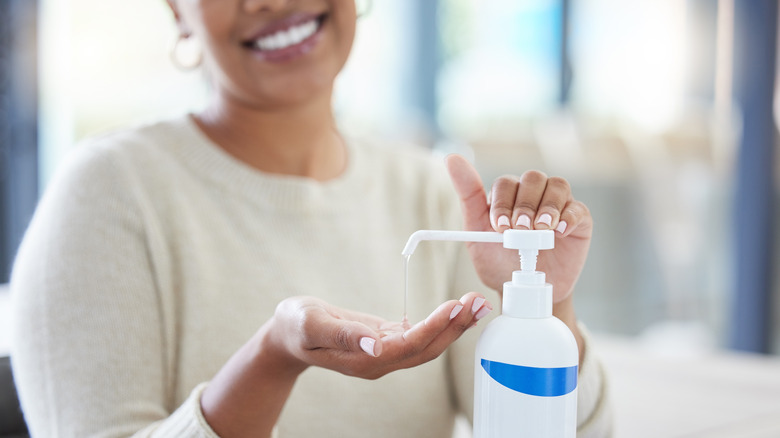
Alcohol is the enemy of gel nail polish. Isopropyl alcohol can be an excellent tool for removing sticky coats and dehydrating your nail bed while getting your nails done, but once your nails look how you want them to, you should avoid using alcohol on your hands at all costs.
Products such as hand sanitizer and perfume, which contain alcohol, can break down your gel and lead to lifting and peeling. It's best to keep your hands dry of these as well as cleaning products and even open alcoholic beverages that may expose your nails to alcohol.
You'd be surprised how many products you use daily contain alcohol and will ruin your manicure if you're not careful. Check your shampoos, soaps, and other beauty products for ingredients such as triclosan, triclocarban, phthalate, and parabens. Don't be fooled by cetearyl alcohol, however, as this ingredient described as a fatty alcohol is actually great at healing dry skin.
Do not clip or file your nails after your manicure
As we learned from capping your free edge, you should never break the gel seal that sits on the vertical edge of your nail, no matter how long or short they are. Not every nail tech will teach you how to care for your nails after leaving the salon.
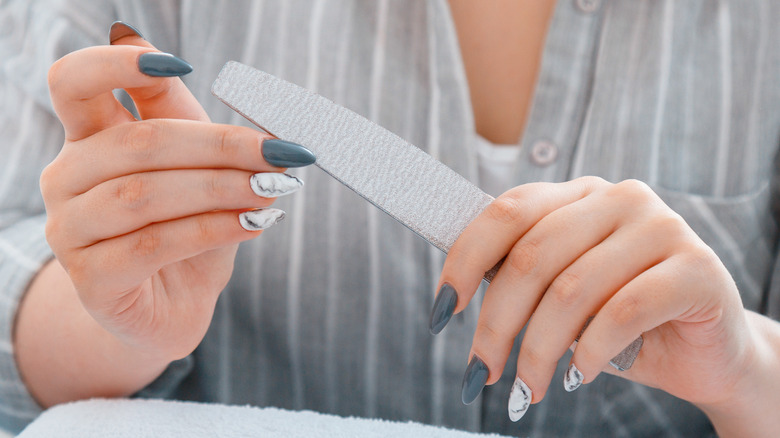
Among the most important teachings is not filing or clipping your nails after the gel polish has been painted on and cured. Once your gel set is finished, you shouldn't bring out your clippers or files until you are ready for your manicure to come off.
Over the two to three weeks you are sporting a gel manicure, your nails may become too long for your liking. Unfortunately, the only way to change the length is to remove your gel polish entirely. Despite what some may say, breaking the seal on your free edge is a bad idea. Doing so will almost always lead to lifting and chipping, or worse — trapped moisture that can lead to an infection.
Never pick at your gel polish
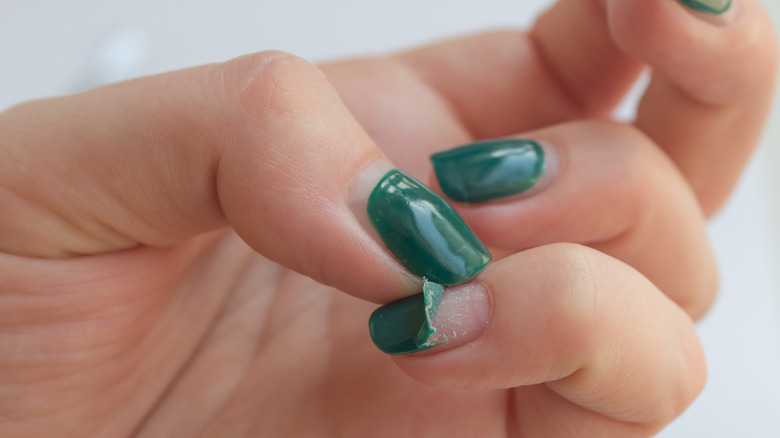
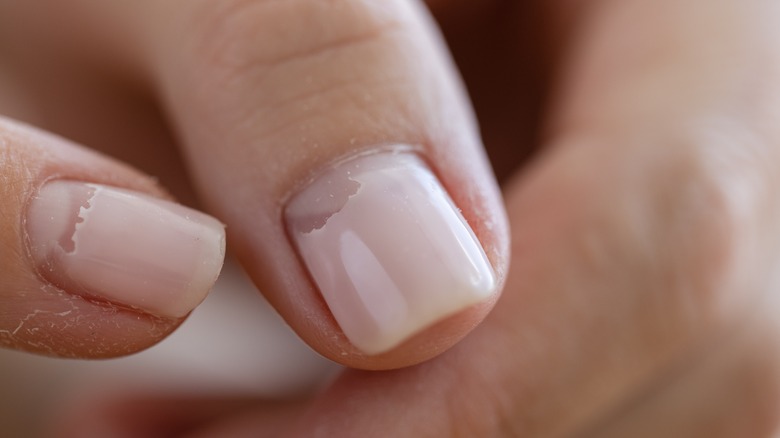
When you notice a small chip on your nails, keeping yourself from peeling and picking at the gel takes a lot of willpower. While it might not seem like peeling the gel is all that detrimental, it can lead to extremely damaged nails that will feel brittle afterward.
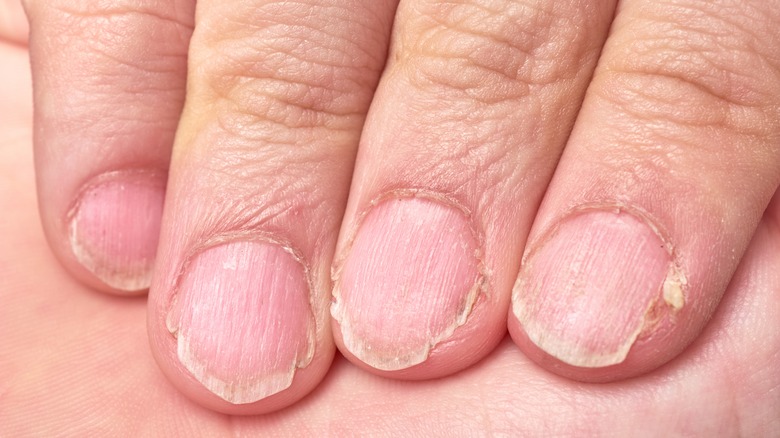
Your natural nails are made of keratin, just like your hair. When you use gel nail polish, the substance bonds to your nail bed for long-lasting color. However, picking and peeling at the gel will take some of that keratin with it. This creates ridges and a fuzz-like texture on your nail bed. Damaged nails will eventually grow out and become replaced with healthy nails, but it can take many months before all the damage has grown out.
It's always best to be proactive with your nails to avoid this long healing process. You can keep your natural nails healthy beneath your gel manicure by taking preventative measures to avoid chipping and fixing your nail as soon as you notice peeling.
Protect chipped nails ASAP
If your nails start chipping before your next appointment, there is a specific way to protect them until you have time to get them redone or redo them yourself. At the minimum, you need a hand file, an alcohol wipe, and a clear top coat. If you are learning to do gel nails at home, you may want to use the gel color of your current nails and a gel top coat.
First, buff where the polish is chipping or lifting just until the area is flat and roughed up for adhesion. Then, wipe the entire nail with your alcohol wipe. This will remove any oils from your nail plate that may keep the polish and top coat from adhering properly. Next, if you have the same gel color on hand, you can paint over the bare part of the nail to disguise the chip.
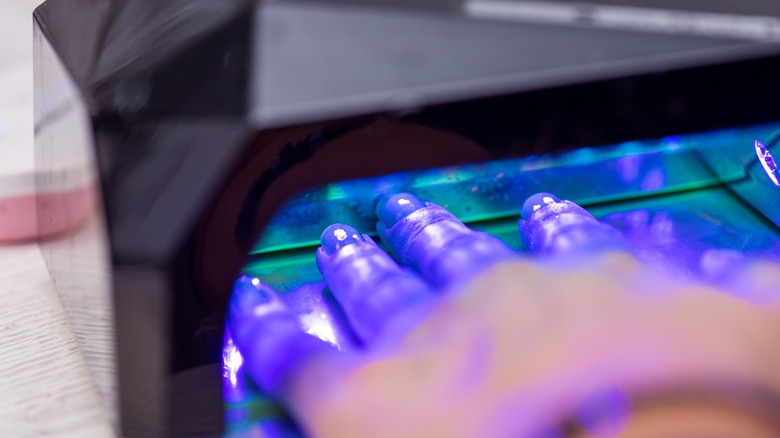
Cure it before moving on to the next step. Now, you can apply the top coat. If you are using regular nail polish, you'll simply cover the entire nail, cap the free edge, and wait for it to dry. If you are using a gel top coat, complete the same step and allow it to cure under your UV or LED lamp. This quick fix will prevent the nail from chipping further and help quell the urge to pick at the lifting gel.
Let your nails breathe
Believe it or not, it's unwise to constantly keep gel polish on your nails. Even though the gel does protect your natural nail to an extent, the process of painting and removing it about twice per month can lead to damage that takes more time to heal the longer you ignore it.
Acetone is certainly the least damaging way to remove gel polish from your nails, but even then, it dehydrates your nail beds, making them dry and brittle. Frequent use of acetone can also cause cuticles to peel and become dry, red, and irritated.
Allowing your nails to breathe and only using strengthening nail products and cuticle oil will aid in the health of your natural nails, promote nail growth, and help the longevity of your gel manicures later on. After several rounds of gel nails, consider taking a few weeks off (or more!). During this time, you should use cuticle oil and hand cream consistently and consider other treatments like hand masks and strengthening base coats.
Your gel manicure isn't going to last forever
Some people will try to make their gel manicures last upward of a month to save money and time. However, this is not how the product is intended to be used. Your gel manicure isn't going to last forever, and you shouldn't try to stretch it to its limits. These manicures are only meant to last around two weeks. The longer you keep them on after you've reached this mark will only create weaker nails that are more susceptible to issues down the line.
Wearing nail polish for extended periods allows harmful chemicals in the product to bleed into the natural nail bed. This can lead to many problems, including discoloration, breakage, and nail thinning. In addition to taking regular breaks from gel manicures, it is just as vital that you have your gel color fully taken off before reapplication every few weeks to ensure that they are still healthy. Healthy nails will also show less chipping and lifting as they can support the gel polish better without breaking or peeling underneath it.
Take your hands to a professional
Typically, having your nails painted and removed by a professional is the best way to keep them in good health, reducing lifting, peeling, and chipping. Nail technicians are schooled in important techniques that make your nails look great with minimal damage. Without the experience of schooling and performing these techniques regularly, you run the risk of inadvertently damaging your nail plate.
This happens when you misuse gel products and remove the polish in a way that harms your nail bed, cuticle, and surrounding skin. All these things can cause your nail products to adhere poorly later on, causing chipping or even worse consequences.
Especially when considering gel polish removal, a professional has all the tools available to safely remove those nails. When nail products are removed healthily, your fingers will feel less sore and irritated, and your nails will show little signs of damage. It leaves a blank canvas for your nail tech to work with and allows you to go home with healthy-looking nails that you can be proud of.
