Embrace The '80s Fashion Revival By Acid Washing Your Own Jeans
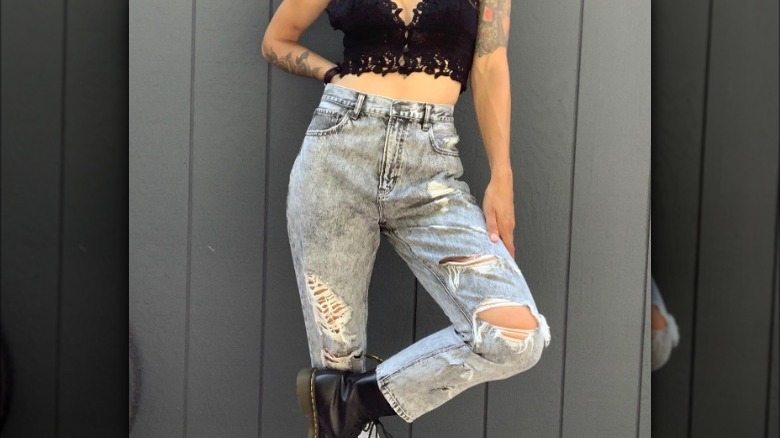
Velvet dresses, scrunchies, geometric patterns, high tops, animal prints, spandex — the trends of the '80s have been reigning supreme once again, and whether you're on board or not, they don't seem to be stepping down anytime soon. And if you've been noticing more fashionistas sporting acid-washed denim than usual, and you don't hate the look, you may be ready to succumb to the reemergence too.
Luckily, it's easily accomplished at home with an old pair of trusted jeans and the help of a few standard household items. And, of course, we all know that acid wash isn't limited to just jeans. Jackets, vests, shorts, hats, bags — don't feel pressured to hold back when radicalizing your favorite denim pieces you'll be rocking all of 2023. And if you don't consider yourself a star DIYer, don't fret. The process is pretty simple. Just be sure to follow a few guidelines to keep yourself and your denim safe and secure.
The origin story
You may be shocked to discover that acid-washed jeans actually came about in the '60s when surfers began experimenting with diluted bleach and sand to give jeans a lived-in look that otherwise takes years to accomplish with natural sunlight and everyday wear. It became so popular that eventually, the style was available on shelves.
While the original acid wash aesthetic may be a bit more laid back and casual than some of the glam-rock styles of the '80s, the popularity was undeniable in both eras. A sharp steer away from some of the darker denim trends of the 2010s, the acid-washed jeans we're seeing now tend to be softer structurally and a bit more relaxed once worn in.
The style has ridden the trend waves fairly steadily in various forms and can easily be dressed up or down with ease and flexibility. So, things are really coming full circle here in terms of the DIY lifestyle. Let's take a closer look at what you'll need to recreate the vibe for yourself.
Gather your supplies
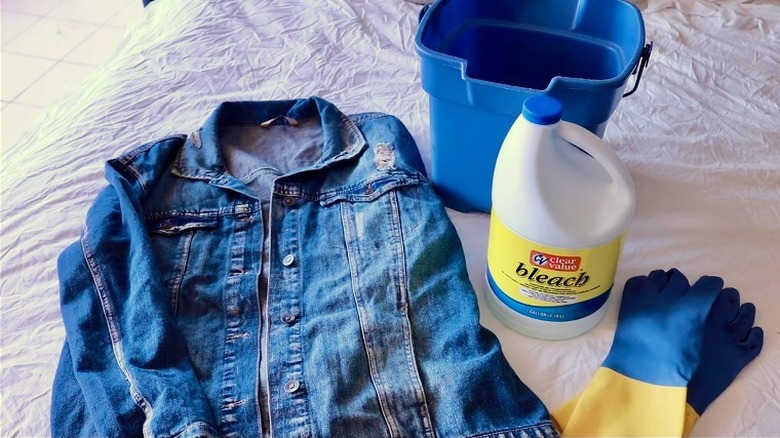
If you ever spent a summer tie-dyeing T-shirts as a kid, this process will feel pretty familiar and nostalgic. You'll need rubber bands, gloves, a large basin, a spray bottle, household bleach, and of course, your denim.
It might be wise to experiment with something other than your all-time favorite pair of jeans that fit like a glove, just in case you come to find that a trial run truly was necessary. You could always take a trip to the thrift store to grab a pair of jeans to practice on, and who knows, they could quickly become your new go-to denim!
Set yourself up in a suitable workspace — the laundry room, bathroom, or even the backyard — and consider laying down some plastic to protect your surfaces. You'll want to dampen your denim with water for better bleach application. Make sure it isn't soaking wet but retains enough moisture to be absorbent for your next step.
Get creative with your application
You may want to peruse Pinterest or other social media platforms for acid wash inspiration before placing your rubber bands on your denim. There are a lot of angles to take, ranging from mellow to bold. Once you figure out the pattern and intensity you're aiming for, you can start knotting up your rubber bands.
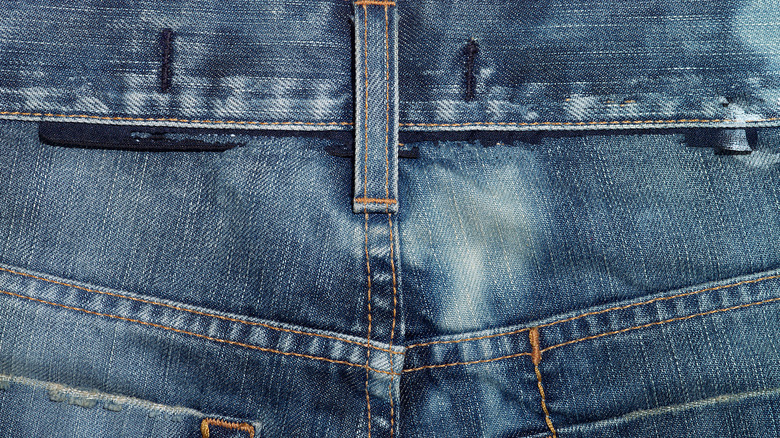
Oh, and pro tip: Don't forget the back of your jeans. This may seem obvious, but in the excitement of the moment, it's easy to forget that you likely want some acid wash on both sides of your denim. You can scrunch up your denim randomly or follow a more distinct placement.
If you aren't into the bold bleach spots, you can skip the rubber bands entirely and save your denim for the mist of the spray bottle in the next step. To prep your spray bottle, fill it with two parts water and one part bleach. You'll likely want to wear rubber gloves for protection here. Too much bleach will cause your denim to become weak and possibly even disintegrate. Shake your bottle well to mix the solution.
Apply bleach and wait
Time to get a little bit messy. With gloves on, fill your basin with the bleach solution. Next, carefully dip the rubber-banded portions of your denim into the solution. Once you see the bubbles in the liquid disappear, remove the denim. If you've opted to use the spray bottle, apply the solution as desired on top of a plastic mat or the ground outside. And once again: Don't forget the back of your jeans or whatever article of clothing you're DIYing.
A combination of the two methods could also make for a lovely design. Lightly spraying the areas surrounding the rubber bands will create a less drastic contrast. Pockets, knees, waistbands — these are all great locations for some extra bleach solution splatter. As tempting as it will be to undo the rubber bands and see your work, you'll want to let your denim rest with the bleach solution for close to an hour.
Once the time has passed, you can remove the rubber bands and rinse your denim in cold water. You'll get a good idea of what your final product looks like at this point! But you'll still want to throw it in the wash on a normal cycle and then tumble dry the denim.
Styling your acid-washed denim
Hopefully, you're over the moon with your '80s revival acid-washed denim at this point. Now for the fun part — styling them. If you opted to bleach jeans, try pairing them with a simple, solid-colored T-shirt and sneakers. If you chose to acid wash a vest or jean jacket, experiment by pairing it with something feminine, like a floral sundress.
Acid-washed denim will give any understated outfit just the right amount of flare. And as they're relatively neutral in tone, you can get creative when it comes to bolder colors and patterns. Don't be afraid to jump on the Canadian tuxedo denim-on-denim train either.
If you acid-washed jean shorts and a jacket, try styling the look with some simple accessories to let your work truly shine. You also can't go wrong with a pair of acid-washed jeans and a vintage graphic T-shirt. This retro look is an embodiment of the '80s-era cool-girl aesthetic, and we're here for it.
