TikTok Taught Us A Handy Way To Determine The Perfect Blush Placement
Makeup hacks are all the rage, and social media users continue to come out with helpful tricks that can make you look and feel like a MUA. From eyeliner tutorials to contouring 101, there is no limit to the tips you can search for on platforms like Instagram and TikTok. When it comes to applying blush in particular, there are many schools of thought on how to efficiently add it to your complexion, but the world has come a long way from just pinching your cheeks until they were raw and red with color. Now there are specialized brushes and blenders that create an effortless rosy appearance, but TikTok still has some tricks up its' sleeve for getting the best angle.
According to Business Insider, blush first came onto the scene in ancient Egypt. Egyptians used to combine fat with red ochre, which they ground up then used as a cheek and lip tint. While many of their trends didn't stick around through the 21st century (think building pyramids or the mummification process), this makeup addition withstood the test of time — with some exceptions. Blush back then was meant to be noticeable and stand out against the kohl liner Egyptians used, but by today's standards, blush should be subtle and complement the cheekbones, without appearing garish or overdone. In order to get the ideal cheekbone lineup, one TikTokker has the inside scoop, and you will definitely want to try it.
Frame it in
The fun part about a makeup routine is that there is no right or wrong way to apply it. Everyone's face shape, complexion, and preferences are different, which is why no two people will have the exact same regime. While you have to find what works for you, there are plenty of hacks that can make certain steps easier, or give you a great finished product. One such trick comes from TikTok user @angelalanter, who has a page dedicated to helpful tips. In one video, she shows users how to "Perfectly apply blush for any face shape."
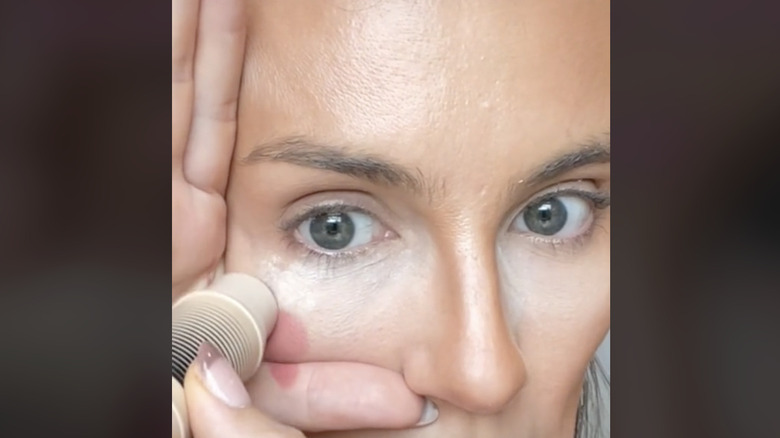
The clip shows Lanter placing her thumb and pointer finger against her face, right against the cheekbone. The result should be an L-shape, which sees the thumb nestled at the base of your nose. The curve of your hand will sit just beneath the highest part of your cheek, and from there you can apply any kind of blush on the "apple" where your fingers have created a frame. In her video, Lanter uses a cream blush, and once she has made a decent-sized dot on the cheek, she uses a makeup sponge to blend it into the surrounding area. If you're not sure whether cream or powder blush is best for you, Kaja recommends using the latter for oily skin, while cream is hydrating for dry complexions. This option is also easier to blend with multiple tools, while powder works best with a blush brush. For this hack, both versions can work, but a stick might be less messy.
Don't forget to blend
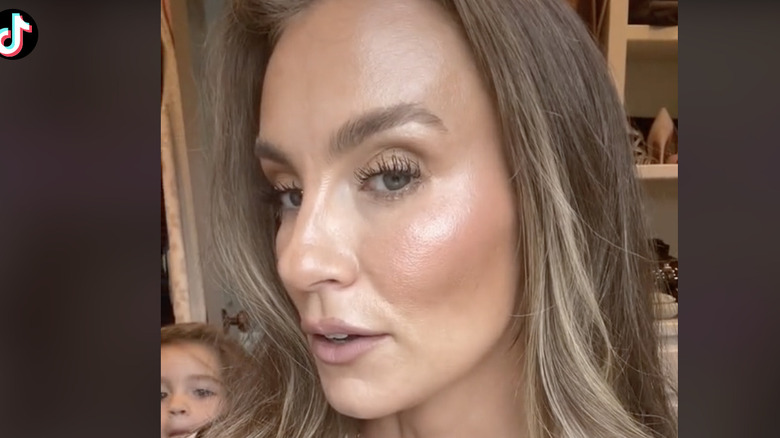
After Angela finishes blending with a sponge, she follows up with a blush brush to even out the color and ensure good coverage. The effect is both impressive and clean, giving a good glow to her entire cheekbone area without looking overdone or too intense. She also pulls the blush up toward her temples to get a wider expanse. According to Glo Skin Beauty, bringing blush up along your cheeks to the temples creates a lift effect, bringing attention to the natural planes and edges that you want to flaunt.
Using blush is a fun and easy way to add color to your palette, and even a small amount can make your cheeks pop. When shopping for the ideal blush tone for your skin, think about the undertones in your complexion, and aim for shades that will complement them. Reader's Digest suggests considering your coloring after being out in the sun if you aren't 100% sure about what complexion hue you have. If you tan more easily, your undertones are warm, while people who get red after too much sun have cool undertones. Once you have the blush shade, try this hack to get amazing coverage and highlight, without the stress of overdoing it!


