How To Make Your Press-On Nails Look Like The Real Thing
Press-on nails have officially entered the chat. While sure, back in the day, they were often considered the tacky, less-than option compared to the nail salon, those days are long gone. After they flourished during the coronavirus pandemic, when quarantined nail care lovers could no longer make their bi-weekly trips to the salon, press-on nails have only risen in popularity.
For those who still aren't convinced, try searching for #PressOnNails on any social media platform. That hashtag has collected three million posts on Instagram and nearly five billion views on TikTok (yes, billion with a "b"). With their versatile shapes, sizes, colors, patterns, and more, press-on nails are an excellent option for those who are bougie on a budget and don't want to shell out tons of money at the salon — or who simply like switching up their nail look often.
The biggest drawback to wearing press-on nails is that they can easily look like press-on nails. Not a preferred look. But fear not! With a bit of time, patience, and practice, you can make your press-ons look like the real thing.
Finding the right size and shape is essential with press-on nails
When requesting an acrylic set at the salon, your technician would assess your nails and ask which shape and length you want. From there, they use your nail shape as a guide when applying the acrylic. However, press-on nails come in standard sizes, and you have the duty of matching them up with the size of your nails. Select a size that's too small, and your natural nail will peek through. Pick a size that's too big, and your nails will be glued to your skin (and be super obvious and clunky).
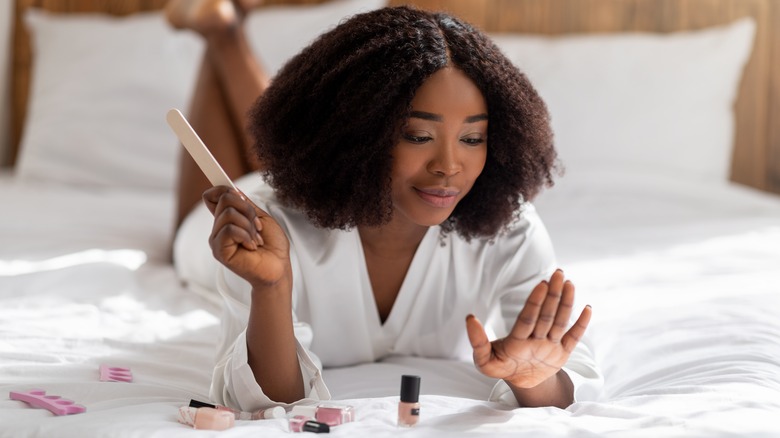
According to online nail retailer Clutch Nails, applying the wrong size nail is the biggest surefire way of making them stand out, and not in a good way. If there are no press-on nails in the package that perfectly fit your nail shape, you can file them on the sides so that they do. While you have that nail file out, you may want to reshape them to flatter your hands.
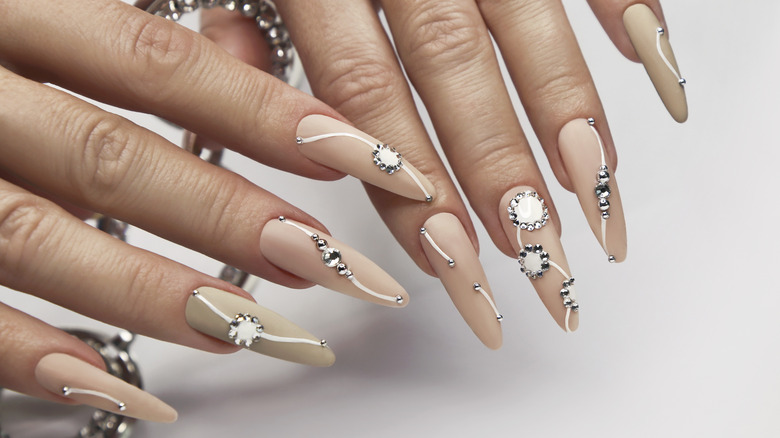
For short fingers, round nail shapes look flattering, per OPI. Opt for an oval shape if you have wide nail beds that sit on long fingers. If your fingers could use a slimming effect, you may want to go for an almond shape. Of course, you want to be mindful of your daily duties and profession when choosing a practical nail shape for you, but the options are endless when it comes to customizing your press-on nails, so they look like the real deal.
Nail prep is a must
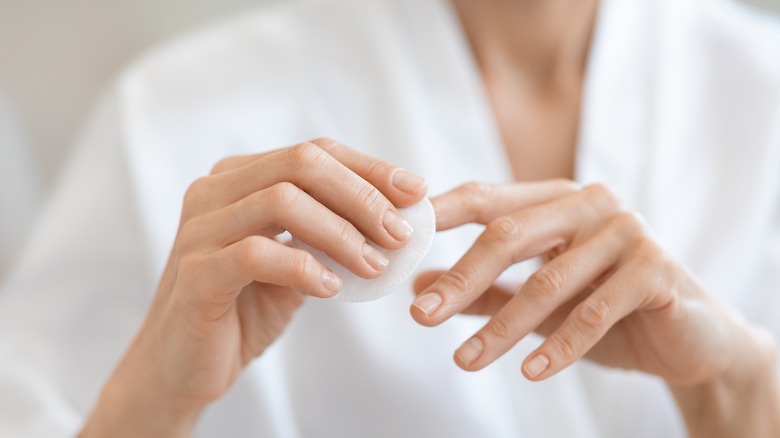
When you open your pack of press-on nails, the last thing you want to do is glue them on top of unprepared nails. This is because press-on nails need a clean and dry surface to adhere to for them to last (via Nylon). How many natural or acrylic nails have you seen that are lifted at the corners and popping off every other day? Exactly! So, before applying the nails, wash your hands, file away any dirt and lingering nail glue from any past applications, clean up the cuticles, and use rubbing alcohol to dehydrate and thoroughly cleanse the nail.
After your nails are clean and ready to be glammed, ensure you use a sizable amount of nail glue when adhering to press-ons (via Ipsy). Don't go too crazy, or the glue will seep out of the sides when you apply the nails, creating a sticky mess. However, coating the entire nail with an even, generous amount will help them last longer. You could even apply a small dab onto the back of the press-on nail for extra adherence.
After your nails are on, steer clear of water for as long as possible, so the glue has ample time to properly bond to the nail, per Sarah's Sparkles Nails. You may also want to avoid exposing them to harsh chemicals and frequent moisture. So, to keep your house and your nails sparkly clean, you may want to invest in reusable rubber gloves!


