How To Do A DIY Eyebrow Tint
Eyebrow trends come and go, but regardless of whether bleached brows or brow bling is having a moment, beauty critics agree: eyebrows are one of the most important elements of your overall look. Beauty brand Frends explains that eyebrows enhance your face and complete your makeup by framing your eyes. They also bring symmetry to your face, regardless of what makeup you're using or what natural face structure you have.
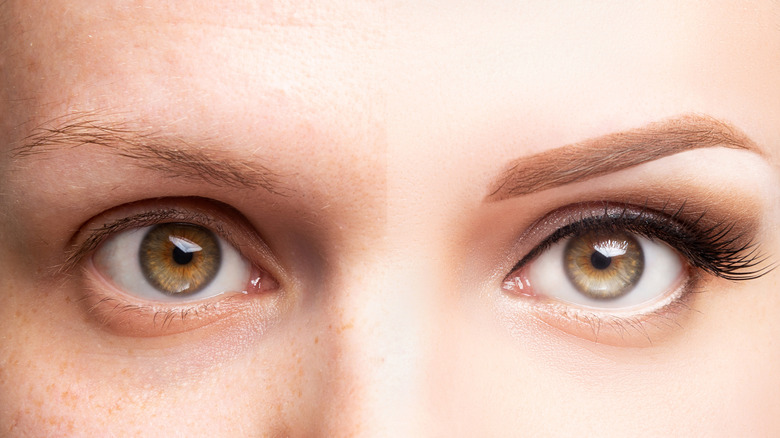
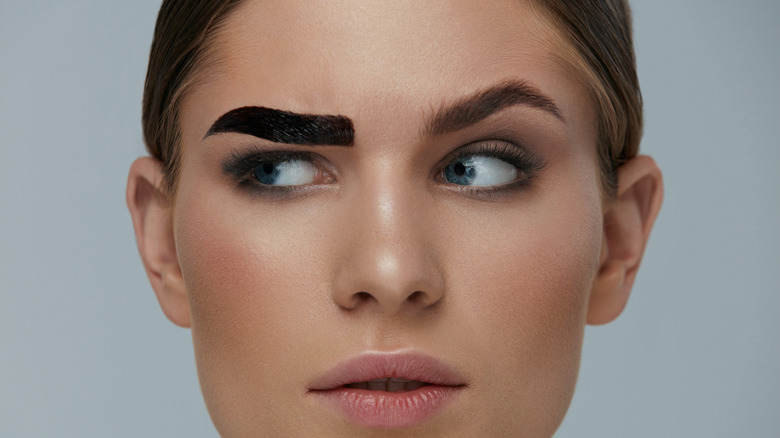
Eyebrow tinting involves applying semi-permanent dye to the brow hairs to darken them, resulting in more defined brows that accentuate your look. It tends to be the most effective on those with lighter brows but can also be a dream solution for people with sparse or patchy eyebrows. While anyone can simply pencil in their brows every day as part of their makeup routine, having them tinted is by far the more convenient option, with the color lasting for around a month (via Healthline).
Traditionally, eyebrow tinting has been offered in salons only. But as our world continues to adjust to the COVID-19 pandemic and various sectors of society are exploring at-home alternatives, DIY eyebrow tinting is now a common practice. And though the concept of semi-permanent dye is daunting to some, tinting your brows at home is relatively easy!
How to prepare your brows for tinting
There are several varieties of eyebrow dye on the market, and the first step in tinting your own brows is choosing one. The majority of dyes come in the form of kits, which contain dye pigment and developer. Speaking to MindBodyGreen, brow expert Joey Healy advises looking carefully at the ingredients in each kit and opting for vegetable-based dyes as these are less likely to irritate the skin. This is particularly important if you have sensitive skin that reacts to most products. A patch test before applying the dye to your brows is crucial to rule out the possibility of an allergic reaction. Once you've selected your dye, the next step is to choose a color. You can reach out to your hair colorist to help you find the right shade, but if that option isn't available, go for a color that's one or two shades lighter than your natural brows (via Insider).
If you're really in two minds about a particular shade, MasterClass recommends testing different colors on a white paper towel and letting them dry, then holding them up to your eyebrows to determine the correct option for you. Before you get started with tinting, you can maximize the effects by shaping your eyebrows to perfection at home with tweezers and scissors (or having them shaped).
Tinting your brows at home
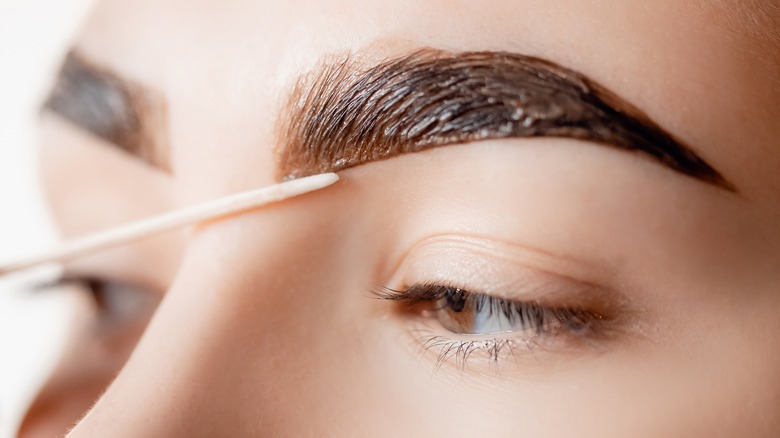
To tint at home, you'll need eyebrow tint or dye, cotton tips, cotton wool pads, and Vaseline (via The Parlour Room). Begin by cleansing the brow area and applying Vaseline around the eyebrow; this will create a barrier that will stop the color from leaking onto your skin and staining. Then, mix the tint or dye (or undertake any other preparation steps outlined on the packaging) and apply it carefully to your eyebrows with a cotton tip. Let the tint sit for at least five minutes, though some brands will recommend waiting longer. With some kits, you'll then have to apply a developer and allow that to set in. Once your waiting time is up, gently remove with a cotton wool pad and cleanser, moving in the direction of the hair growth.
Correcting a tint that's too dark can be tricky, but Beauty Heaven advises massaging eye cream through your brows and then cleansing several times with makeup remover or clarifying shampoo. If you do end up staining your skin, apply a physical exfoliant and gently scrub the area. If the risk of staining or ending up with overly dark brows is worrying, there are cheat products available that allow you to temporarily color your brow hairs. Maybelline, for example, sells an eyebrow mascara that darkens your brows and lasts all day. But if you're looking for a longer-lasting result you can achieve from home, DIY tinting usually yields effective results. If you follow the outlined steps carefully, serious mishaps are unlikely!


