A Beginner's Guide To Using A Makeup Sponge
We may receive a commission on purchases made from links.
A great makeup sponge can make or break your makeup look. Makeup sponges have grown tremendously in popularity over the past several years, causing many avid makeup gurus to swear off makeup brushes completely. LA-based Celebrity makeup artist Carissa Ferreri tells Ipsy that she loves using makeup sponges, as "the finish looks like real skin — not like makeup is sitting on top of your skin."
Makeup sponges actually push the product into the skin so that it truly does not stay atop the skin's surface. A sponge also makes it simpler to build up the product for an extra full-coverage look. Blushington's makeup and beauty lounge expert Samantha Freda says her favorite makeup application tool is a sponge because "the coverage is buildable, the result is practically flawless, and the makeup will last you all day" (via Byrdie). No matter the expert you ask, the answer is always seemingly the same- makeup sponges for the win!
If you have yet to jump on the makeup sponge train, it's time to climb aboard! While this tool seems self-explanatory, there are several beginner's hacks to correctly using a makeup sponge to get the perfect glam look.
1. Choose the right sponge
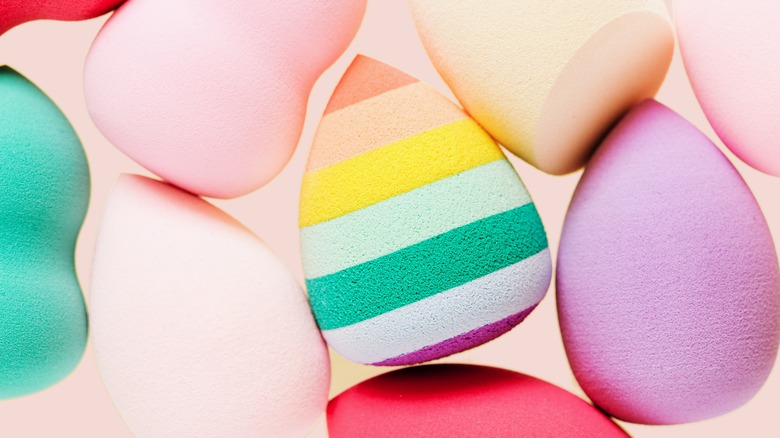
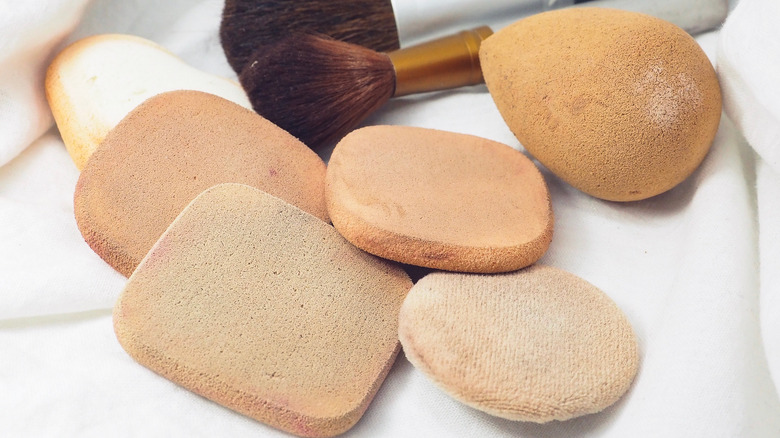
Believe it or not — there are many shapes of makeup sponges. These variations aren't just for appeal, as they all have reasoning behind them. The most classic shape of a makeup sponge is the teardrop, which is shaped exactly as it sounds, with a large round end and another end forming in a point. It is arguably the most popular shape, as it is the original shape of the most famous makeup sponge, the Beautyblender. The teardrop shape's large end can be used on large areas of skin, whereas the tip can be used for hard-to-reach crevices.
Another common shape of makeup sponge is the teardrop with a flat edge in place of the rounded end. This flat edge is perfect for sculpting. Hourglass-shaped sponges are also popular, but truly only differ from a teardrop sponge in that they are easier to hold. Finally, an oval makeup sponge is great for powder as it provides a large, flat surface.
2. Wet the sponge
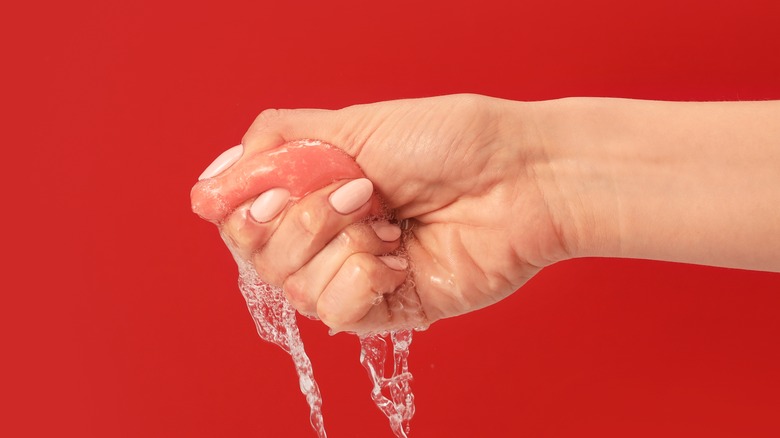
Wetting your makeup sponge before use is key to reaping the full benefits. Run water over the sponge, then squeeze out excess, leaving the sponge damp before any makeup product is applied. According to Beautyblender's Instagram, it is recommended to wet your sponge before use as it will absorb the water rather than your product. This will ensure all the product goes onto the skin rather than into your sponge. Not only will this ensure your makeup looks flawless and even on the face, but it will also prevent product waste.
3. Dab your skin
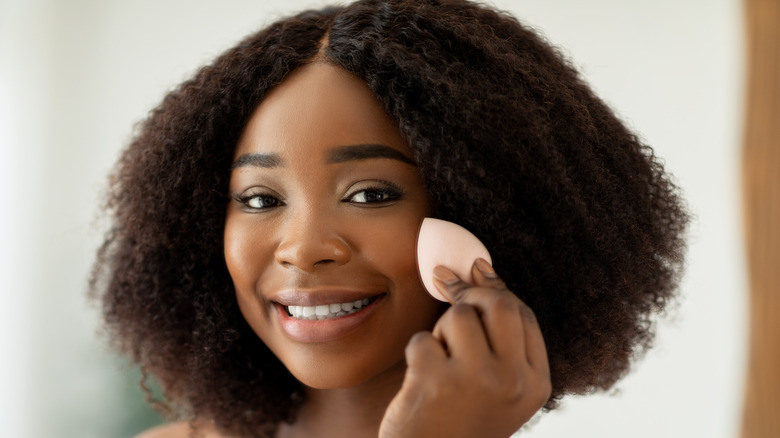
It is important to dab the product on your skin with a makeup sponge rather than swiping or rubbing the product in, according to makeup expert and YouTuber Marianna Hewitt (via YouTube). This is an extremely important step, as it will affect the final look. Dabbing the product into the skin will leave a smooth, airbrushed finish, whereas rubbing the product onto the skin will leave a streaky and uneven finish. The stippling motion of dabbing the sponge onto the skin helps both deposit makeup onto the skin as well as blend it creating a flawless makeup look.
4. Use your sponge for more than foundation
Makeup sponges are for more than foundation! Almost any makeup you wear can be applied with a sponge rather than a brush, minus a few eye products. A sponge provides even blending capabilities for any makeup product. Popular makeup items (other than foundation) to apply with a sponge include contouring products, blush, and concealer.
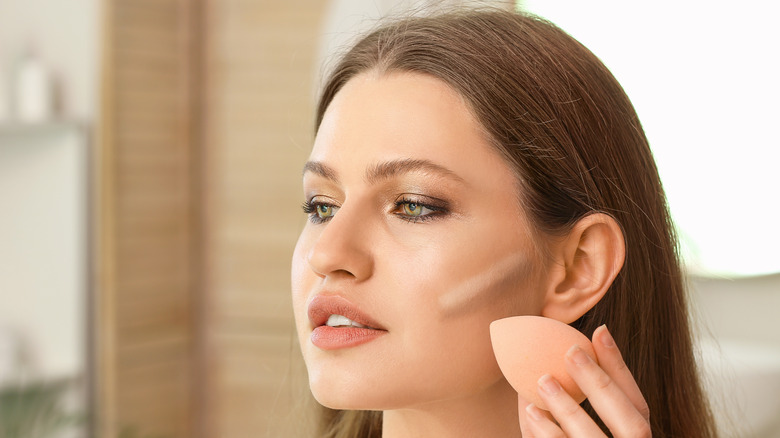
L'Oréal Paris lists makeup sponges as a top application tool for contour, as it provides great blending capabilities to prevent harsh lines. Of course, blush is great to pair with a makeup sponge, as blush needs to be noticeable but natural. Seamlessly dab blush into the skin with your sponge for a glowy, natural finish. Finally, concealer is popular to apply with a makeup sponge due to the build-ability the sponge allows for. Pesky blemishes stand no chance when concealed using a makeup sponge.
5. Always clean your sponge
Unfortunately, makeup sponges are the perfect habitat for bacteria to grow. Between the water they absorb, makeup, grime, and facial oils, makeup sponges can get really nasty, really fast. It is important to clean your makeup sponge at least once per week using antibacterial soap and replace the sponge every three months, according to Beverly Hills-based dermatologist Ava Shamban (via Allure). When you fail to clean or replace your makeup sponge on time, the bacteria can cause breakouts or skin irritation.
