Why You Need To Add Baking Into Your Makeup Routine Immediately
You'd be forgiven for thinking of blueberry muffins and chocolate chip cookies at the mention of baking. But in the world of makeup, the term refers to a technique that has been gaining traction since the 2010s. Known to be used by trend-setting celebrities, including the Kardashians, baking is the process of setting your liquid makeup with powder products.
Explaining the technique in detail to Ipsy, makeup artist Nick Lujan, who is also the director of education and artistry at Kevyn Aucoin Beauty, revealed that baking stemmed from a time when makeup artists would use "heavier grease and oil-based makeup." What's more, Lujan summarized baking as "a method of using a shine and oil-absorbing loose powder to set the makeup, but also layered on thick to adjust color and highlight."
Though it's easy to assume that baking your makeup will lead to a "cakey" look, that couldn't be further from the truth. Makeup gurus the world over are incorporating the technique into their routines because it has a range of benefits, no matter your skin shade or type.
Why should you bake?
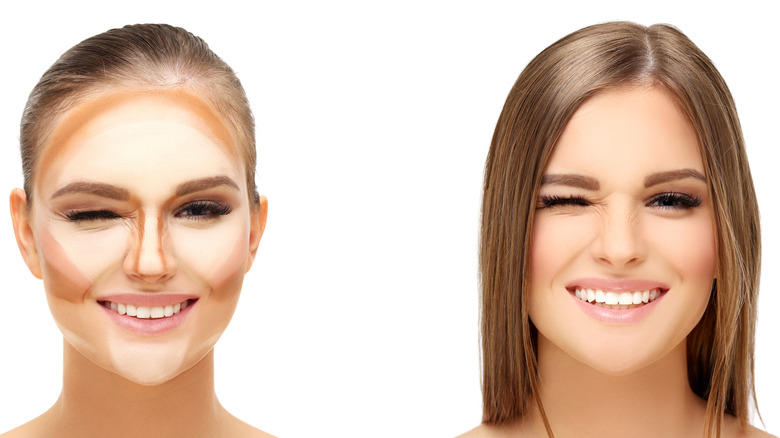
The concept behind baking your makeup is that the thick layer of powder that you place on top of your liquid makeup will cause the product to meld onto the skin and absorb properly (via Cosmetic Capital). Makeup artists recommend incorporating baking into your routine because it can help your makeup last longer and brighten certain areas of your face to create a flawless finish. As for which areas of your face to bake, beauty blogger Hollie advises concentrating on places that are most likely to come up shiny under makeup or to crease. Usually, this is the under-eye area and the T-zone, from your nose to your forehead. Those with oily skin who struggle with shininess might like to bake all over their face.
The good news is that baking is relatively easy to try at home. Beauty giant L'Oréal explains that, when done properly, baking can result in crease-free makeup with no imperfections. You just need eye cream to hydrate the under-eye area, primer, liquid foundation and concealer, translucent face powder, a powder brush, and a makeup blender. And then you're ready to get started!
How to bake properly
Cosmetic baking is much easier and quicker than culinary baking, though that probably depends on who you ask. The first step is prepping your skin with eye cream and primer, paying special attention to dry areas (via Young Blood Mineral Cosmetics). Next, apply your liquid foundation as normal to even your complexion, followed by your liquid concealer under your eyes and over any imperfections. Blend your concealer well. To start baking, press a generous amount of powder into the desired areas with a damp beauty sponge. Let the powder set for between three and 10 minutes. Once it has baked, dust off the excess with your makeup brush.
One of the most common complaints with baking is a dramatic and chalky look. You can avoid this by using less powder, so if you find a generous amount is too much, reduce the amount of powder you use until you find the right consistency for your face (via Pop XO). You can also enhance the effects of baking by using pink or yellow-toned powders, rather than translucent. To make sure that you've blended your makeup and dusted off the excess powder properly, take a photo of yourself with the flash on to highlight any areas that need more attention (via A Beautiful Mess). And voilà! Baking your makeup is as simple as that. Adding this popular technique into your makeup routine can solve all your crease-related problems and glam up your look.


