How To DIY Sugar Wax At Home
The popularity of epilator devices, laser hair removal, and hair removal creams have consistently ebbed and flowed throughout the decades. There is one hair removal method, however, that has remained popular for centuries, and for a good reason. Sugar waxing, or sugaring, is an ancient hair removal technique that removes hair directly from the root, according to a 2016 study in The Journal of the American Medical Association, and dates back to Ancient Egypt. The mental image of Queen Cleopatra following a sugaring routine is inescapable yet glamorous.
While waxing and sugaring are both forms of epilation, sugaring removes hair in a less painful manner. There are two main reasons that can explain why sugaring is less painful than regular waxing. The first reason is that sugar wax is less adhesive than a standard resin-based wax, so it will stick to your hair but not to your skin (via The Beauty House). Secondly, regular soft wax typically removes a layer of dead skin along with your hair, so you don't feel the additional pain of exfoliation with sugar wax, per Avari Beauty. What's great, too, is that this form of wax that has less pain can be accomplished from the comfort of your home. Here's how.
How to prepare the sugar wax
Now, before you jump in and start sugaring, there are several things you need to do. Skin prep is essential for any hair removal method, and sugaring is no exception. To prepare your skin for waxing, it's best to avoid anything that can cause skin irritation and sensitivity. According to Healthline, you should skip exfoliation, retinol, tanning, and any other activities or products which may irritate the skin prior to your at-home wax session. If you want to exfoliate to prevent ingrown hairs, then make sure to exfoliate several days in advance to reduce the risk of irritation (via The Beauty House). You also want to make sure your hair doesn't grow too long or will be difficult to wax, so as soon as it reaches ¼ of an inch, then it's time to break out the sugar wax, per Healthline.
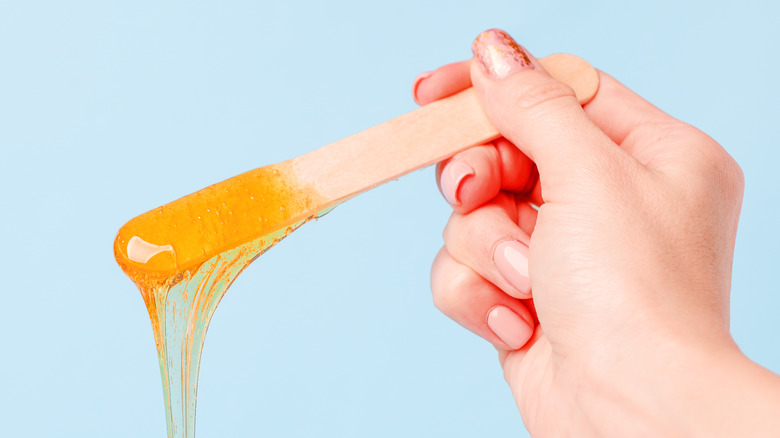
You only need three simple ingredients to create sugar wax: honey, lemon juice, and sugar. To form the sugar wax, add all ingredients to a pot and simmer over low heat until the mixture begins to thicken, per GreenProphet. At this point, the mixture should appear golden-brown in color. Stir the ingredients to fully dissolve the sugar, and after another eight minutes on low heat, the wax should take on a syrup-like consistency and will become a darker brown (via GreenProphet).
Here comes the fun part
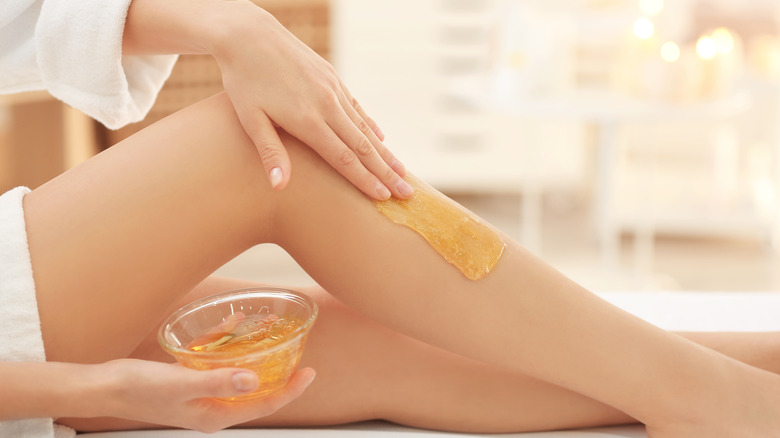
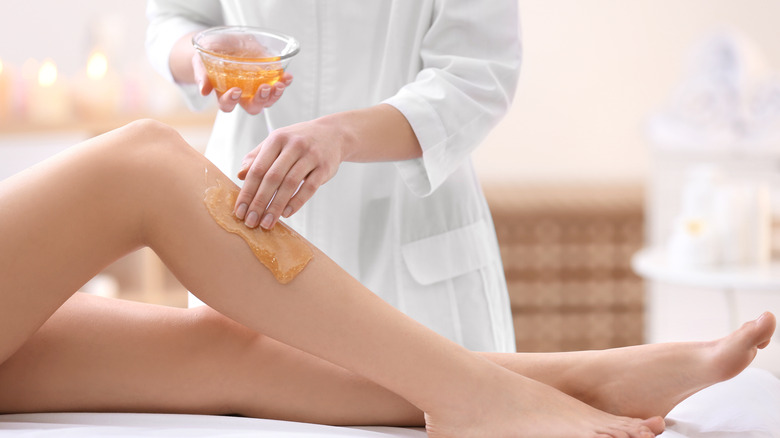
Now, there is a learning curve to sugar waxing and you can expect things to get a bit messy while you adjust to the sugaring method. Feel free to use gloves or wax strips if that makes the process easier for you. After your wax has cooled for several minutes, you can use your hands to apply the sugar paste to your skin. Unlike resin-based waxes, sugar wax is applied in the opposite direction of hair growth, so you pull in the natural direction of growth to remove the hairs (via Nutritious Life). You may need to go over the same patch of skin multiple times as you learn how to manipulate the sugar paste. Once you've finished waxing, apply a nourishing oil to soothe the skin and serum to areas prone to ingrown hairs.
For several days after your wax session, it's essential to keep your skin clean to prevent irritation and infection. Try to avoid hot baths, tight clothing, sexual activity, and exercise for at least 24 hours after your wax (via Nutritious Life). You should also avoid exfoliation for several days as it can irritate and inflame the skin, per the Cleveland Clinic. If you prefer sugaring at home but you're simply not a fan of preparing your own wax mixture, you can use store-bought sugar wax. And if you're really struggling to master the sugaring technique, you can also try a sugaring salon for a professional wax. Nevertheless, whether you DIY your sugar wax or get it done professionally, it's sure to be a procedure that you'll find more pleasing than traditional waxing.


